
Where the water got in.
Water got in where the roof meets the wall. The kickout flashing was not done right, and the caulk at the siding-to-trim joints had failed. For years the water got in quietly and rotted the trim, sills, sheathing and building paper around the dormer windows.
It did not stop at the wall. The water ran down inside it and came through the garage ceiling, so this job ran from the roofline to the ceiling drywall.
Outside, the rotted trim, sills and belly boards came off, the rotted OSB sheathing and failed paper were replaced, and the walls were re-papered and re-flashed before the siding went back on. Inside, the garage ceiling was opened where the leak came through, the wet drywall and insulation came out, and the ceiling was patched and finished smooth.
Johnny’s line for every homeowner: $15 in caulking and 30 minutes could save thousands in repairs.
The leak did not stop at the wall: water ran down inside it and came through the garage ceiling, so the ceiling drywall was part of the repair.
Photo by photo.
- Day01Jan 8
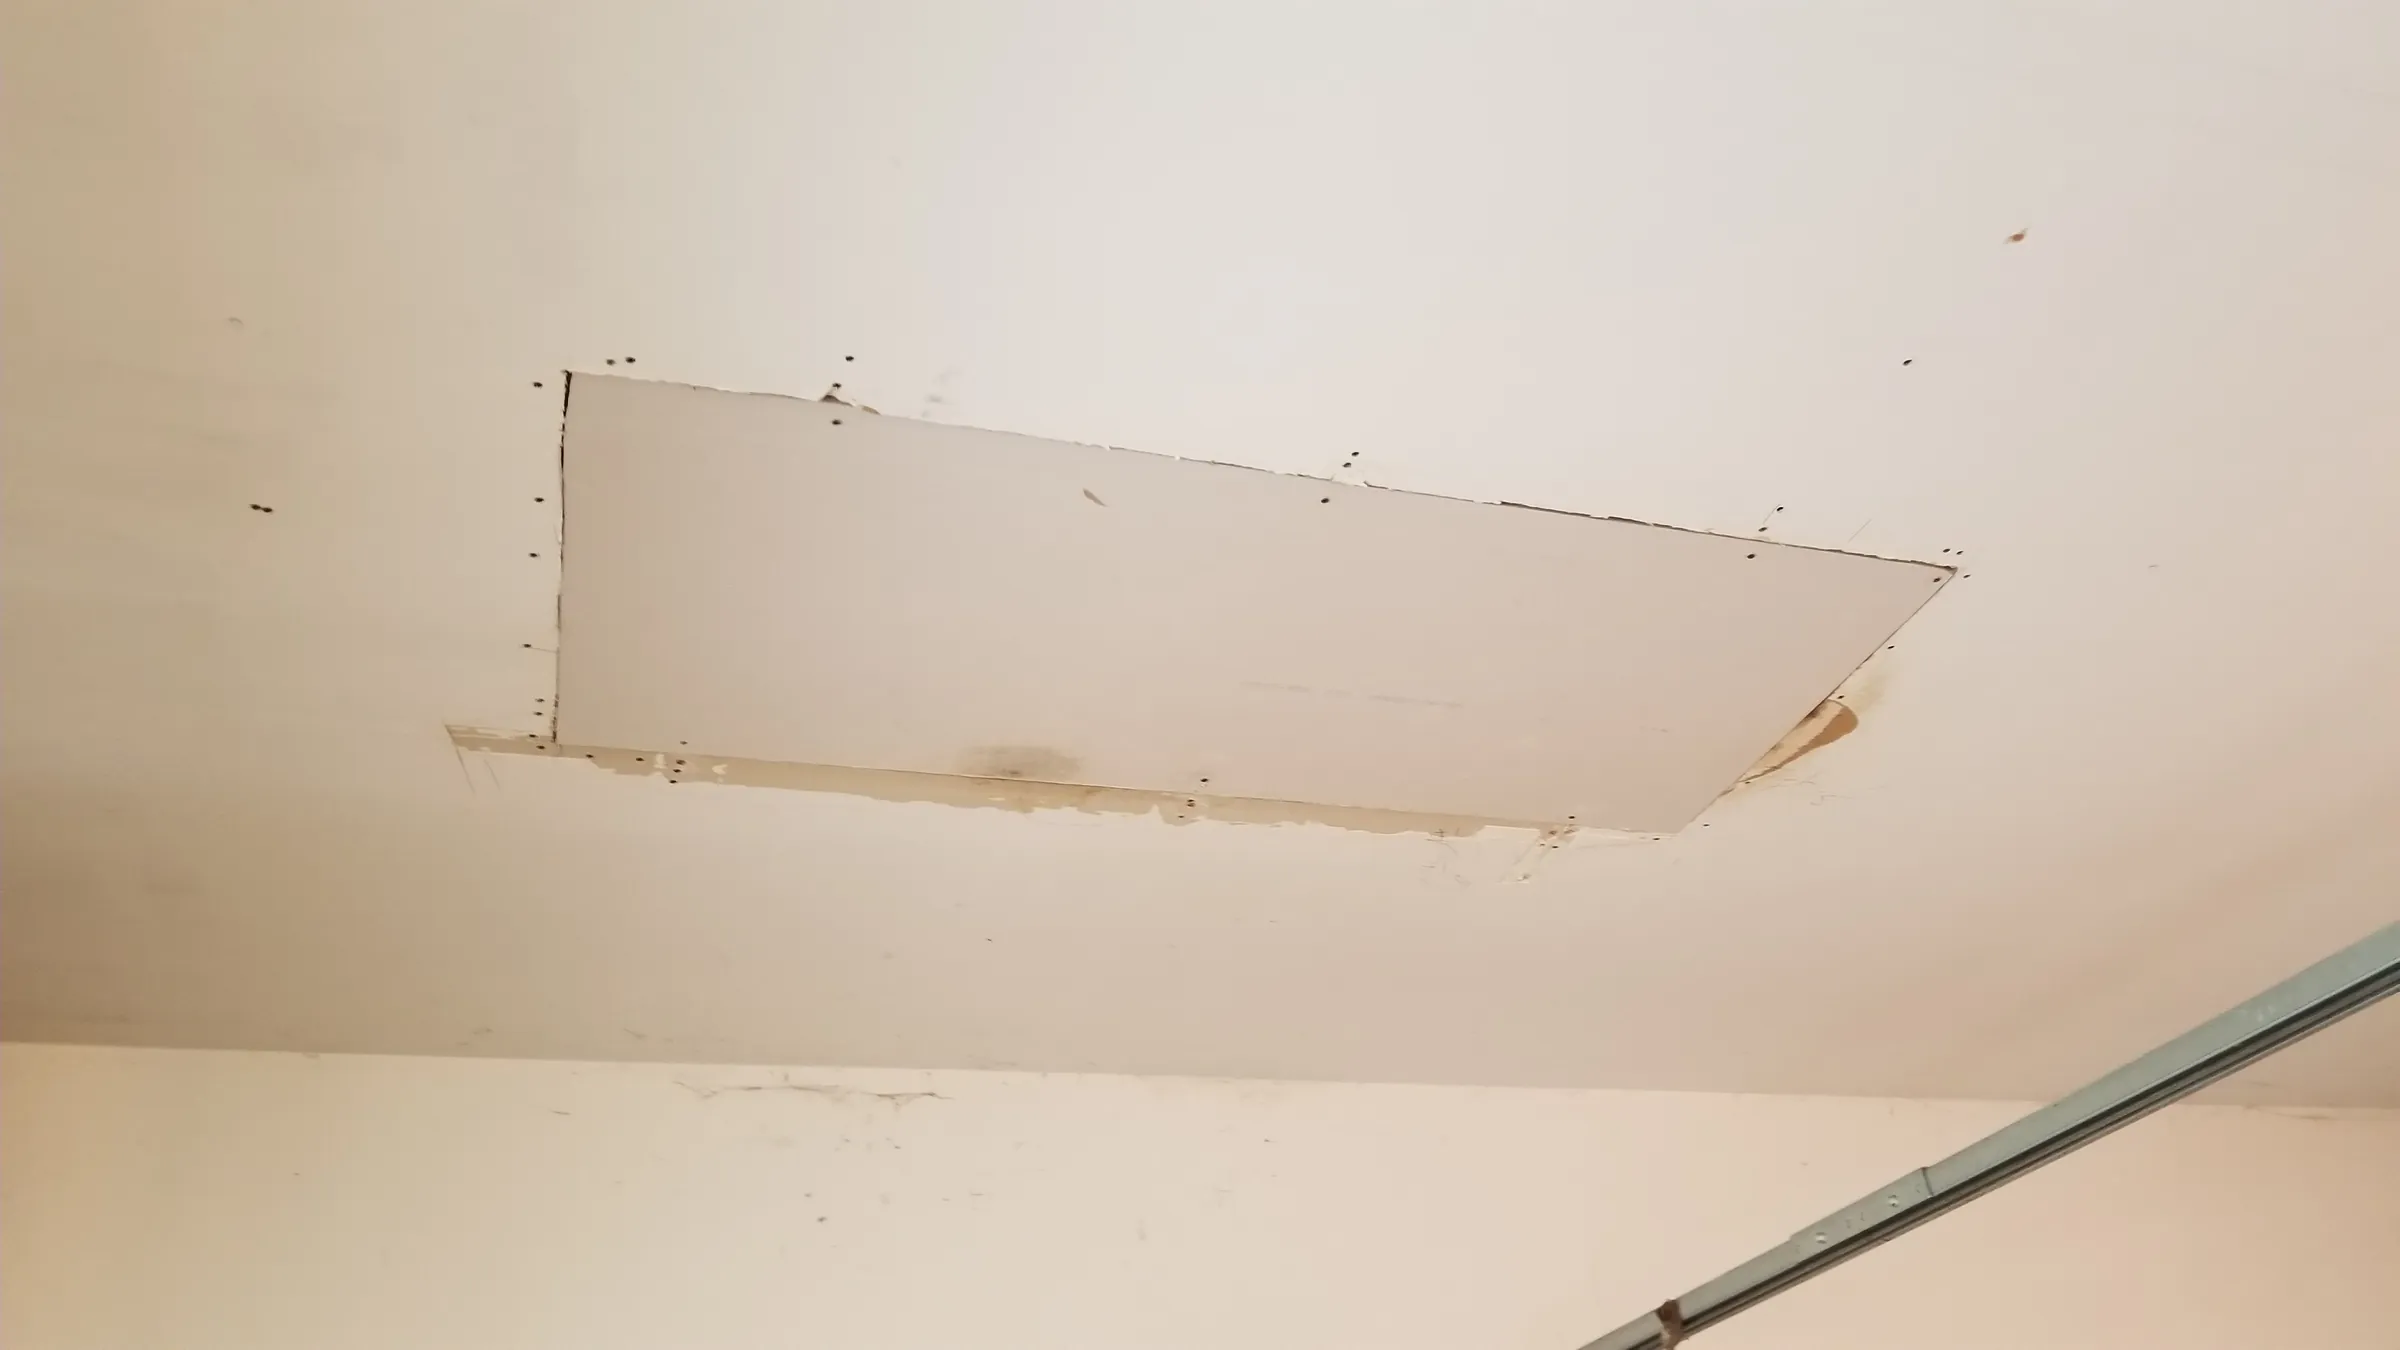
Repair. Garage ceiling cut open where the leak came through 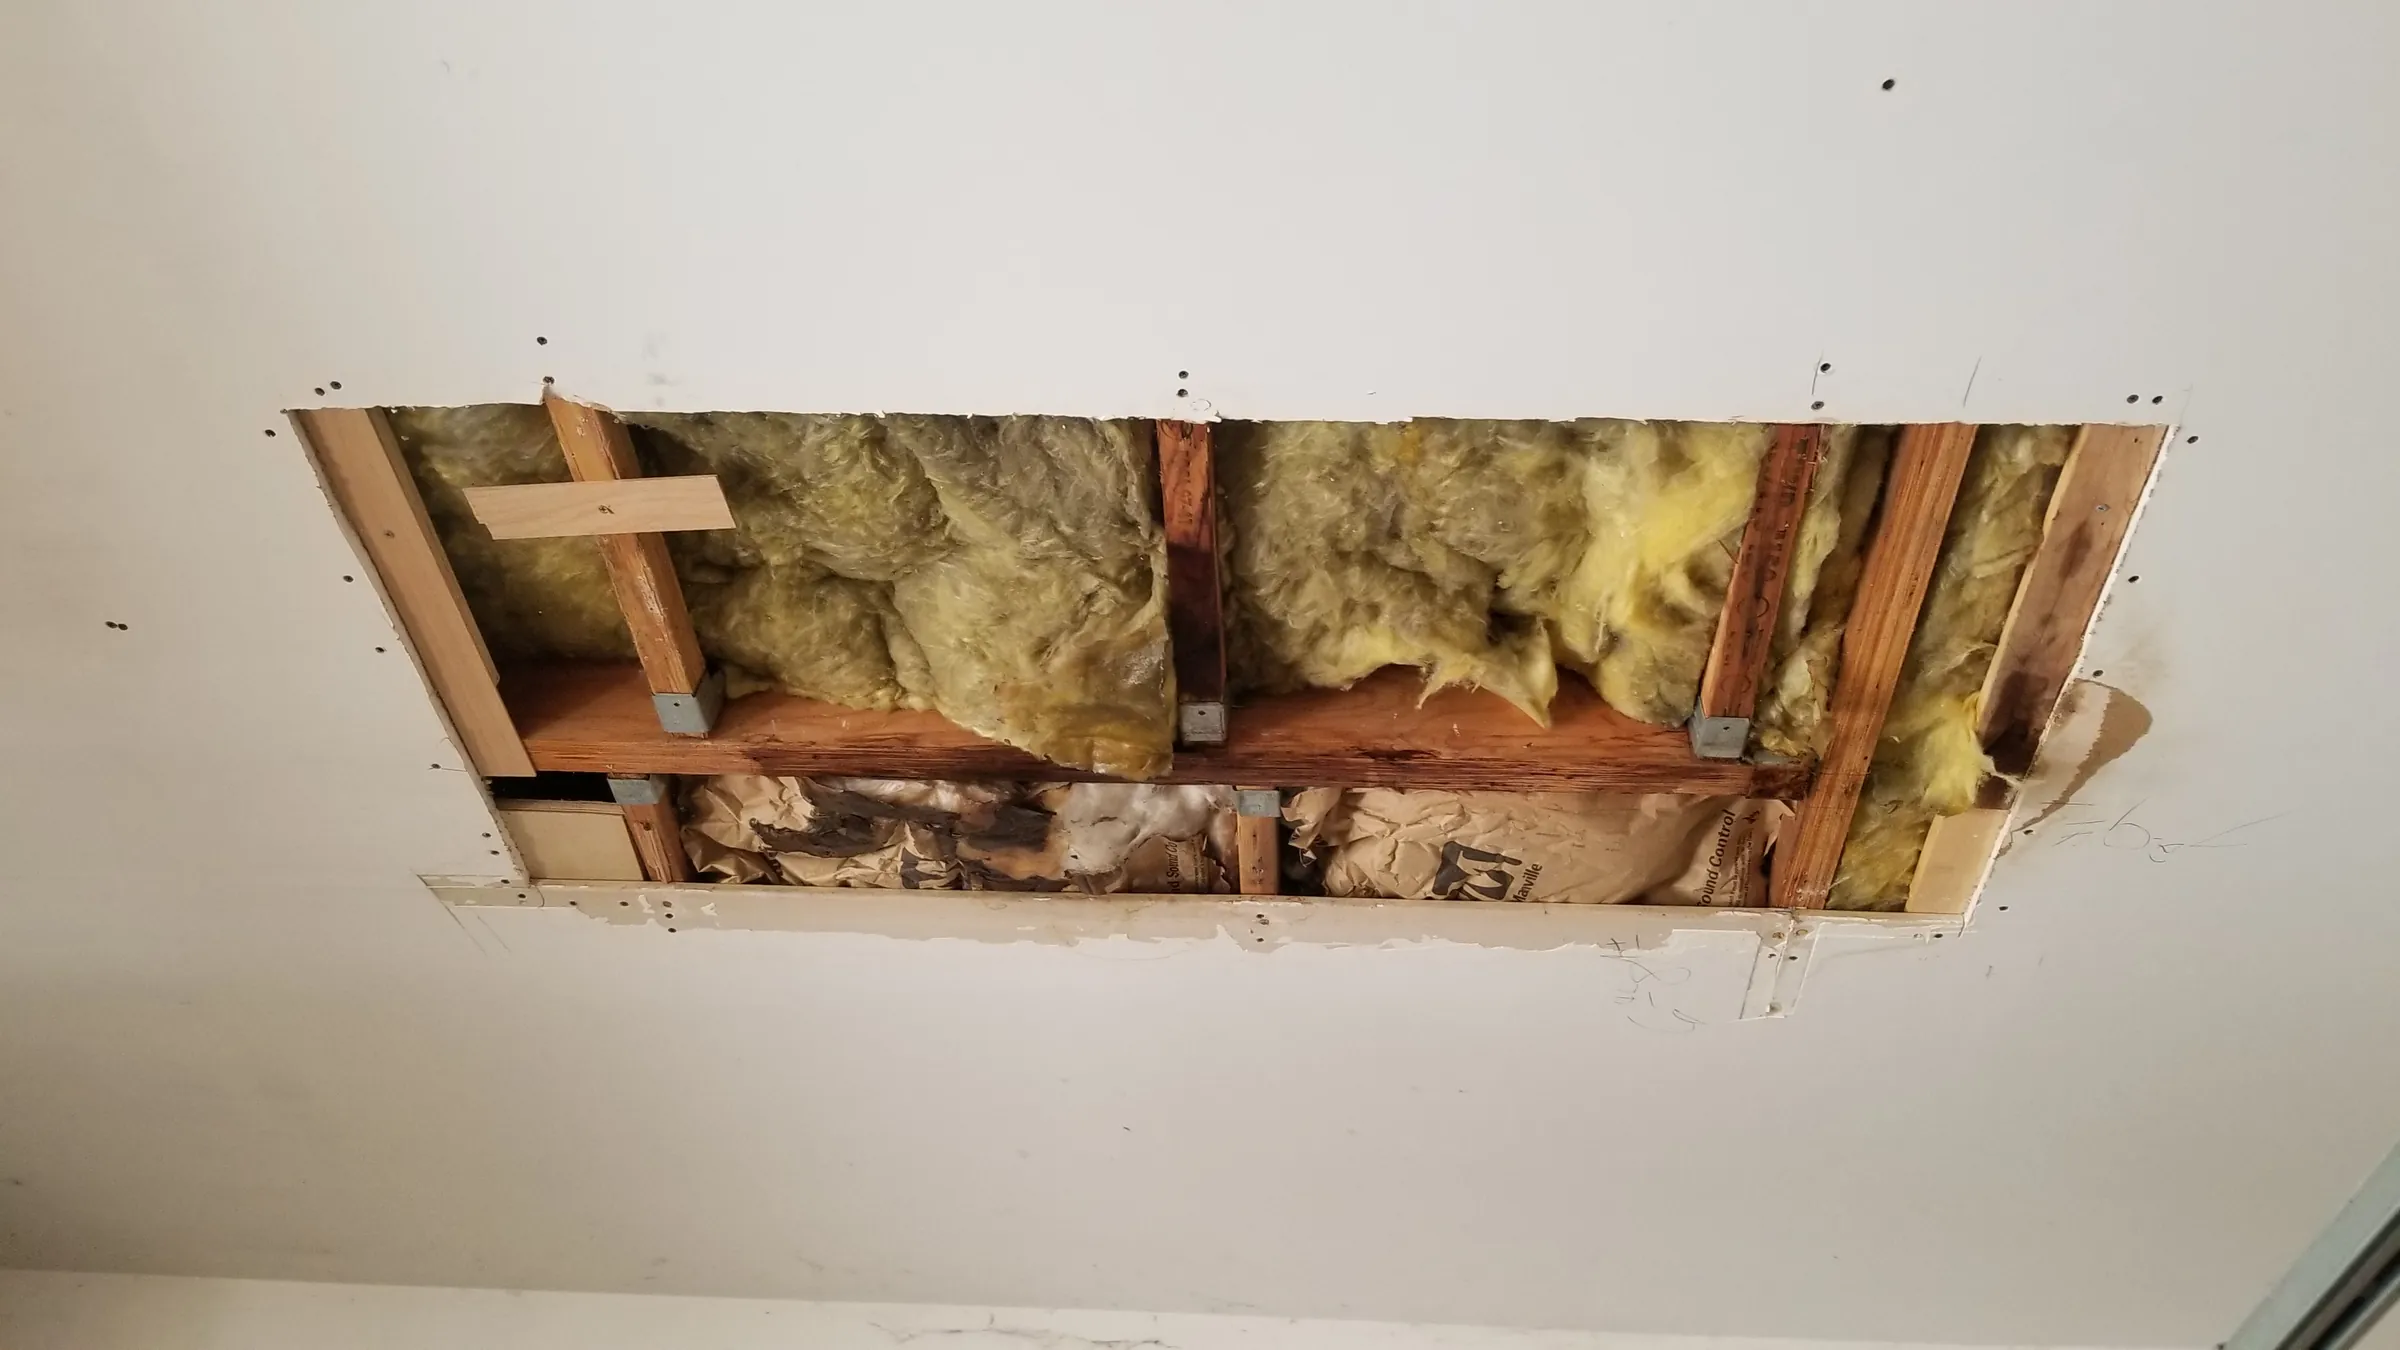
Repair. Ceiling opened: soaked insulation and stained framing 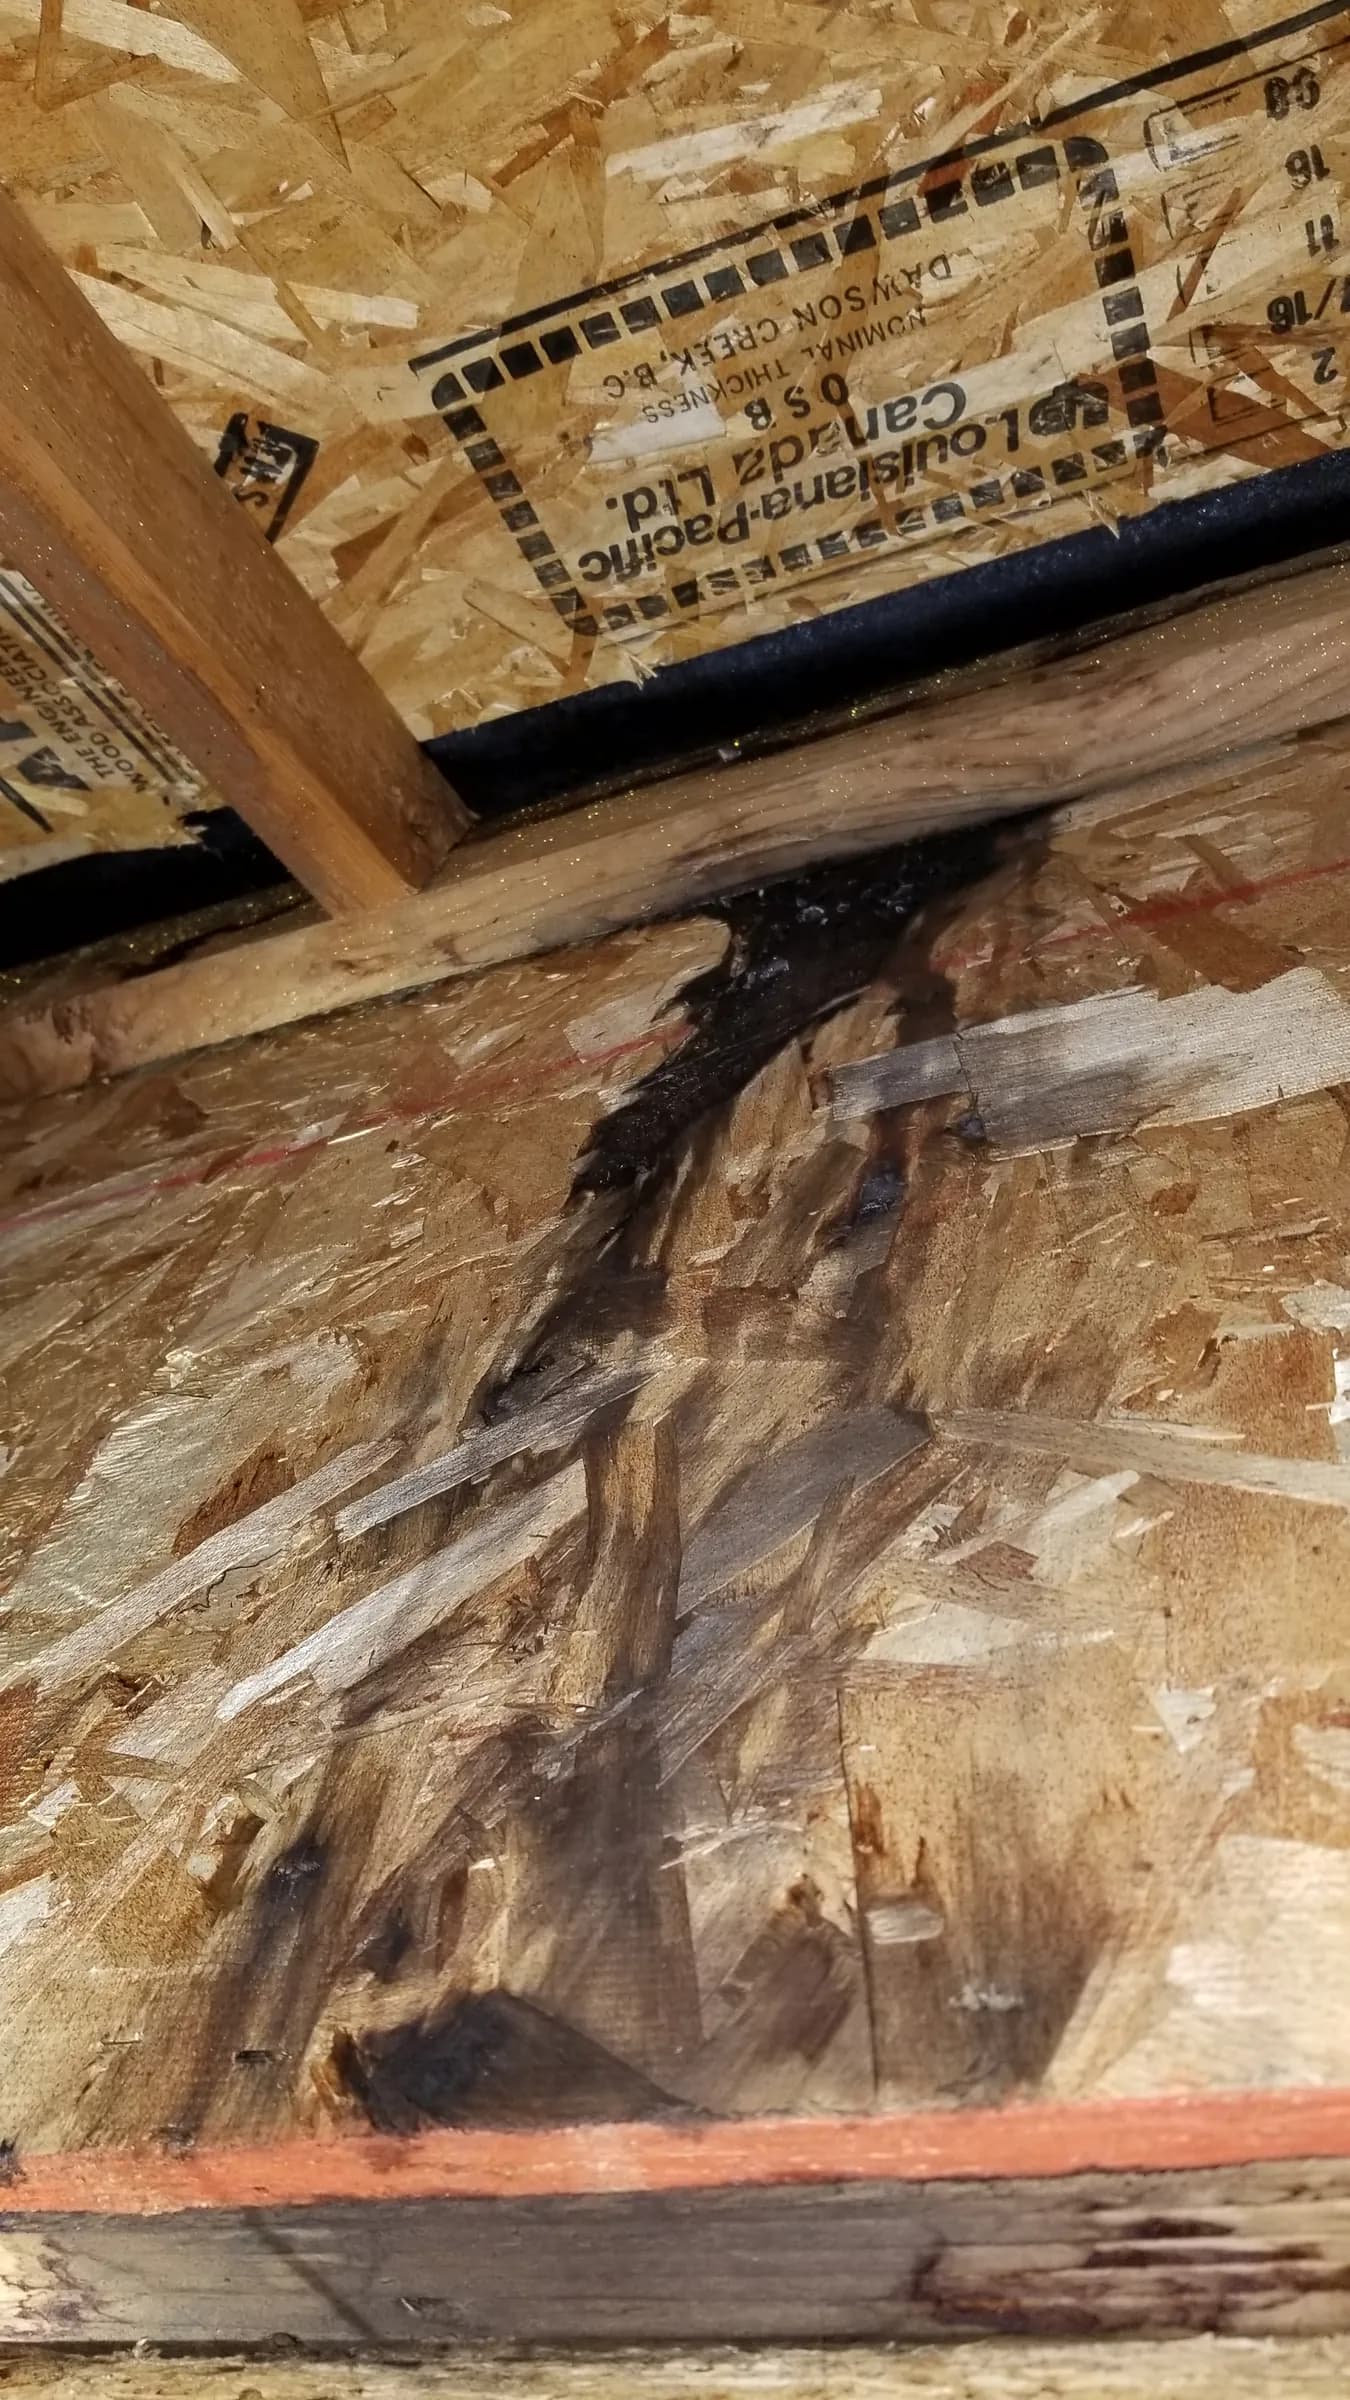
Repair. Water-rotted sheathing hidden inside the wall 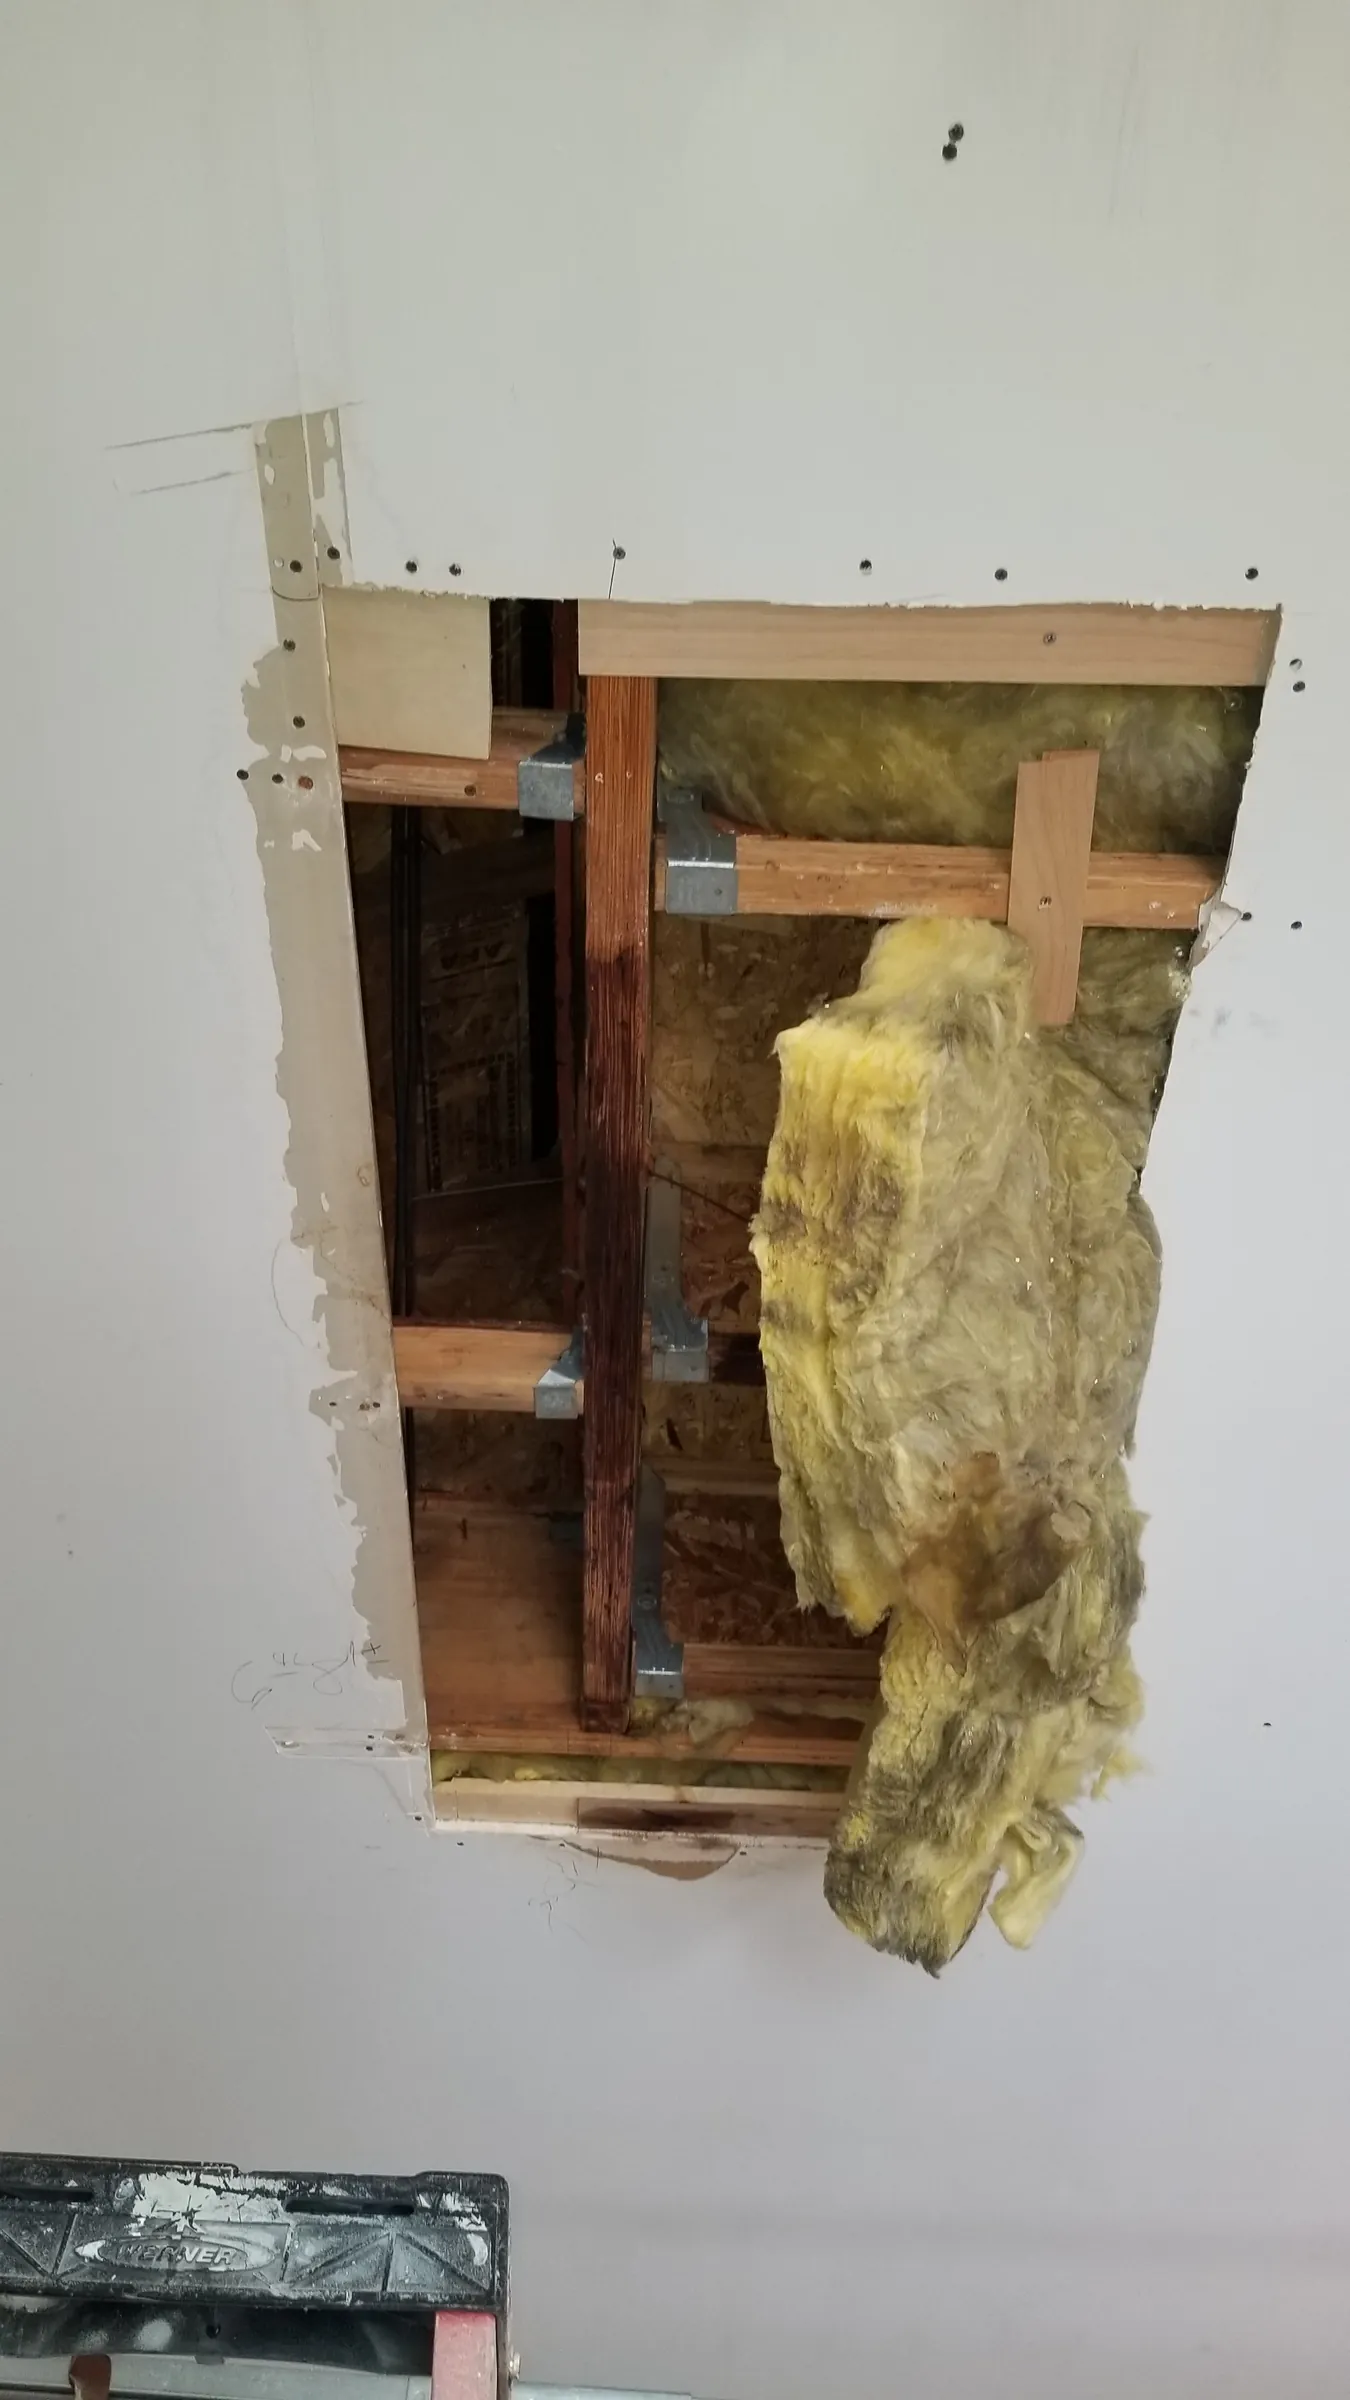
Repair. Wall opened at the corner, insulation out 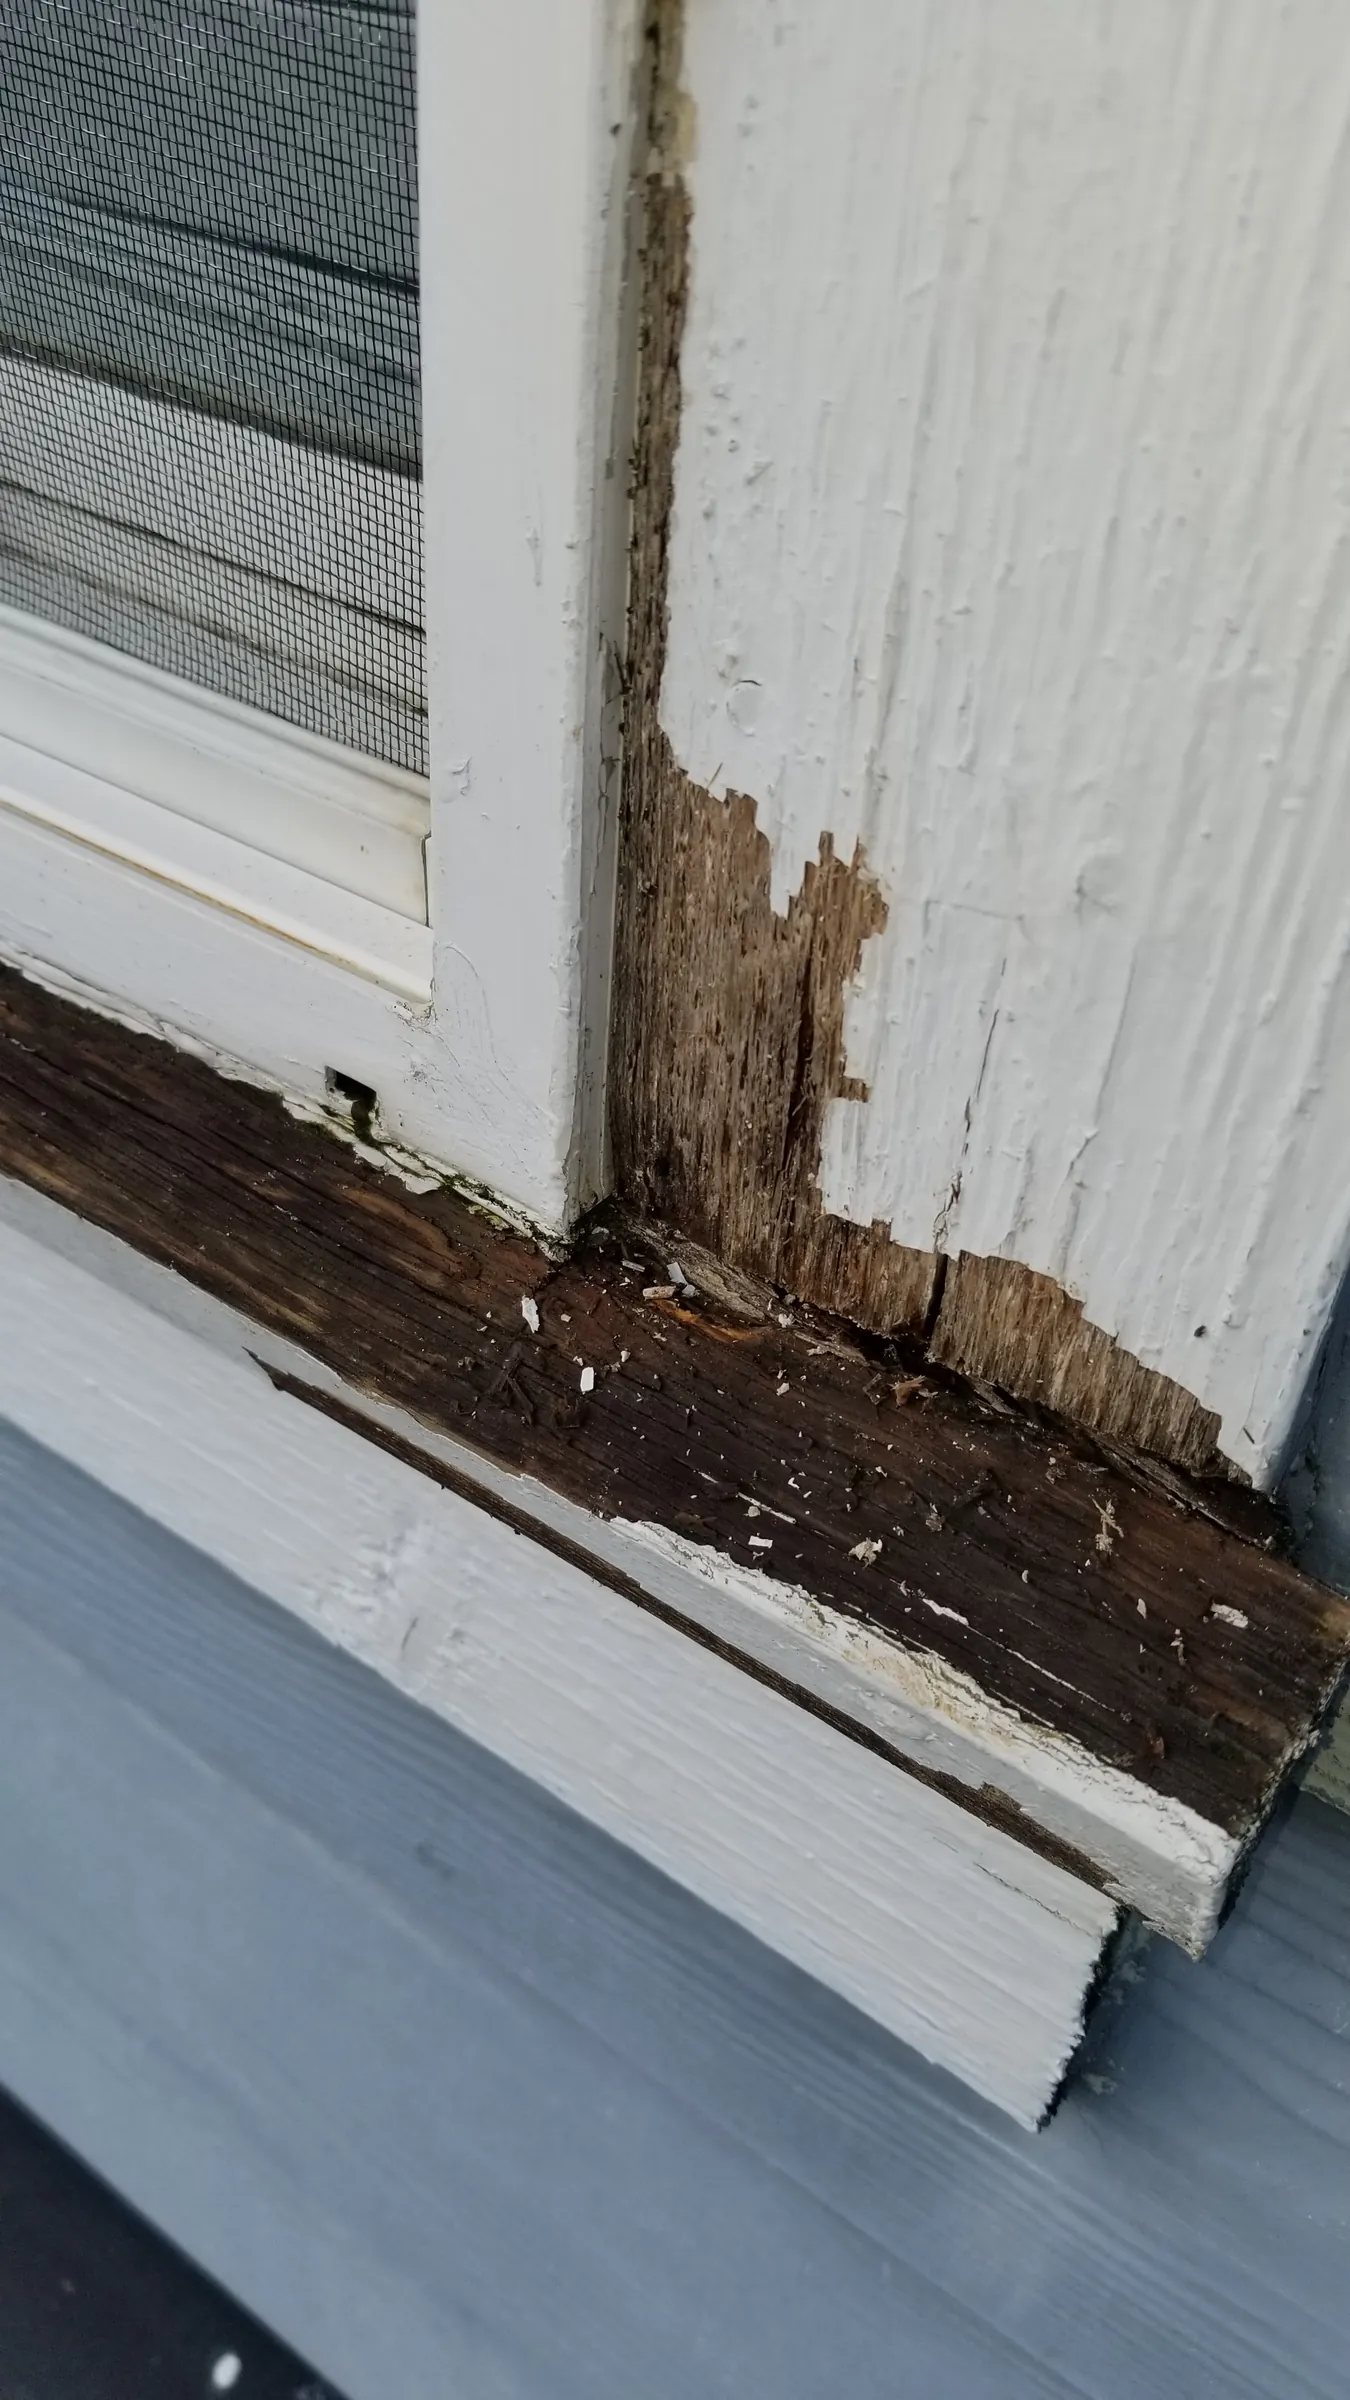
Before. Window sill and trim rotted through 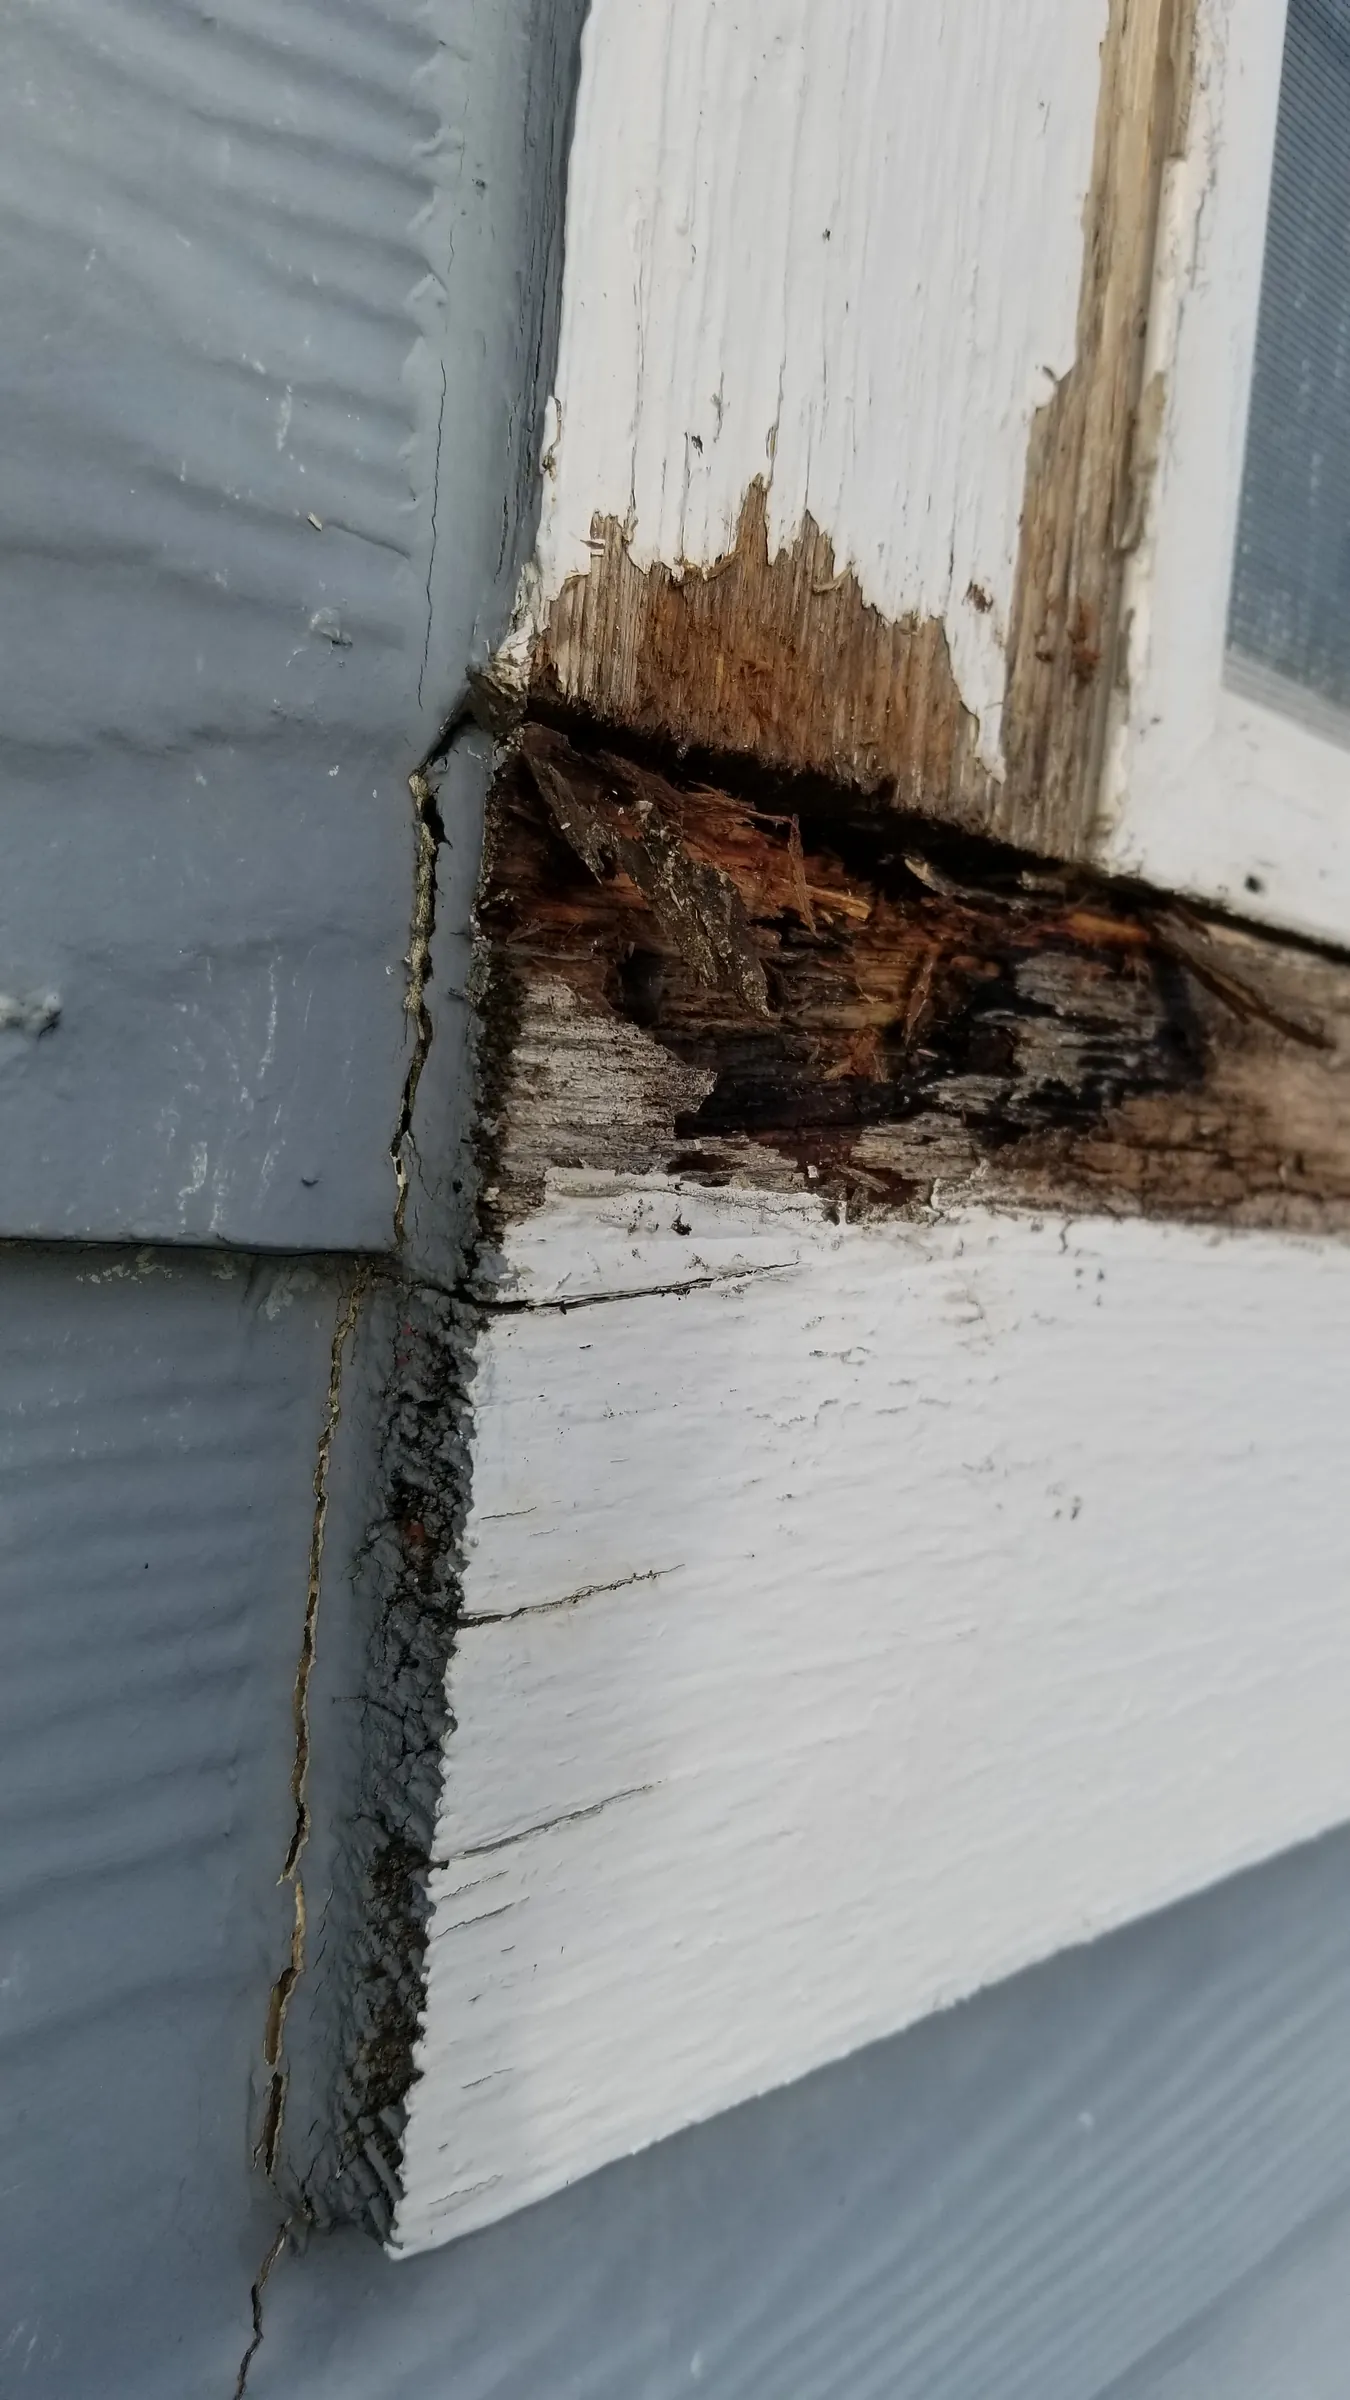
Before. Rot at the siding-to-trim joint — the failed caulk line 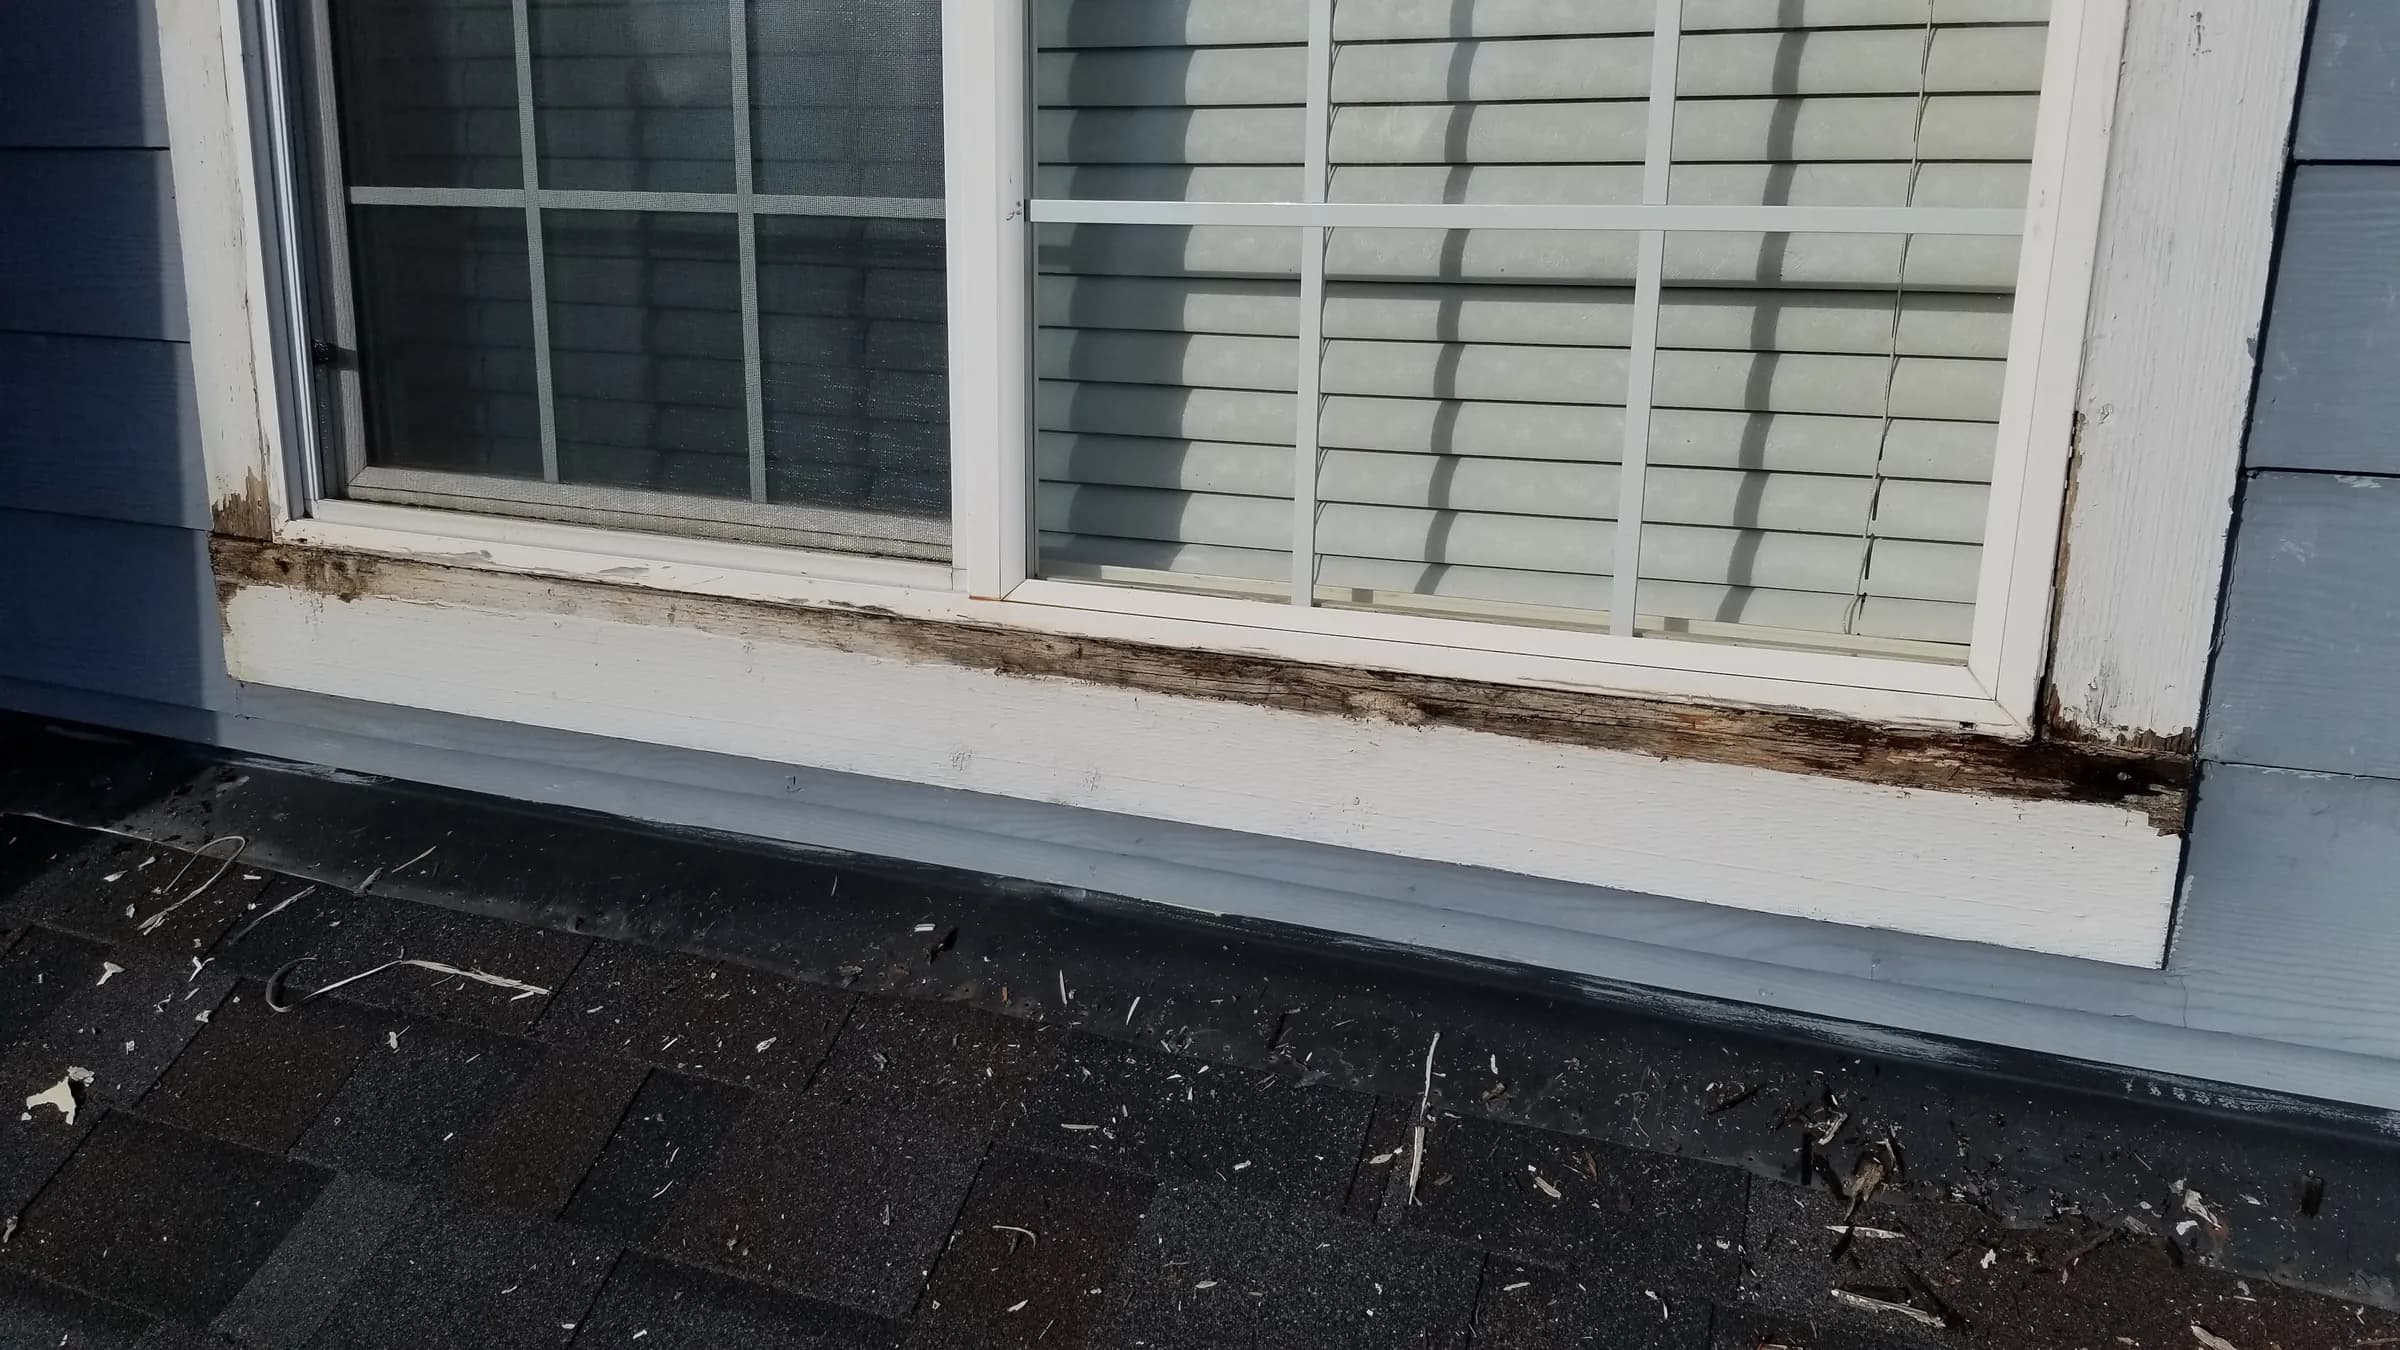
Before. The window wall before — rot along the whole sill - Day02Jan 9
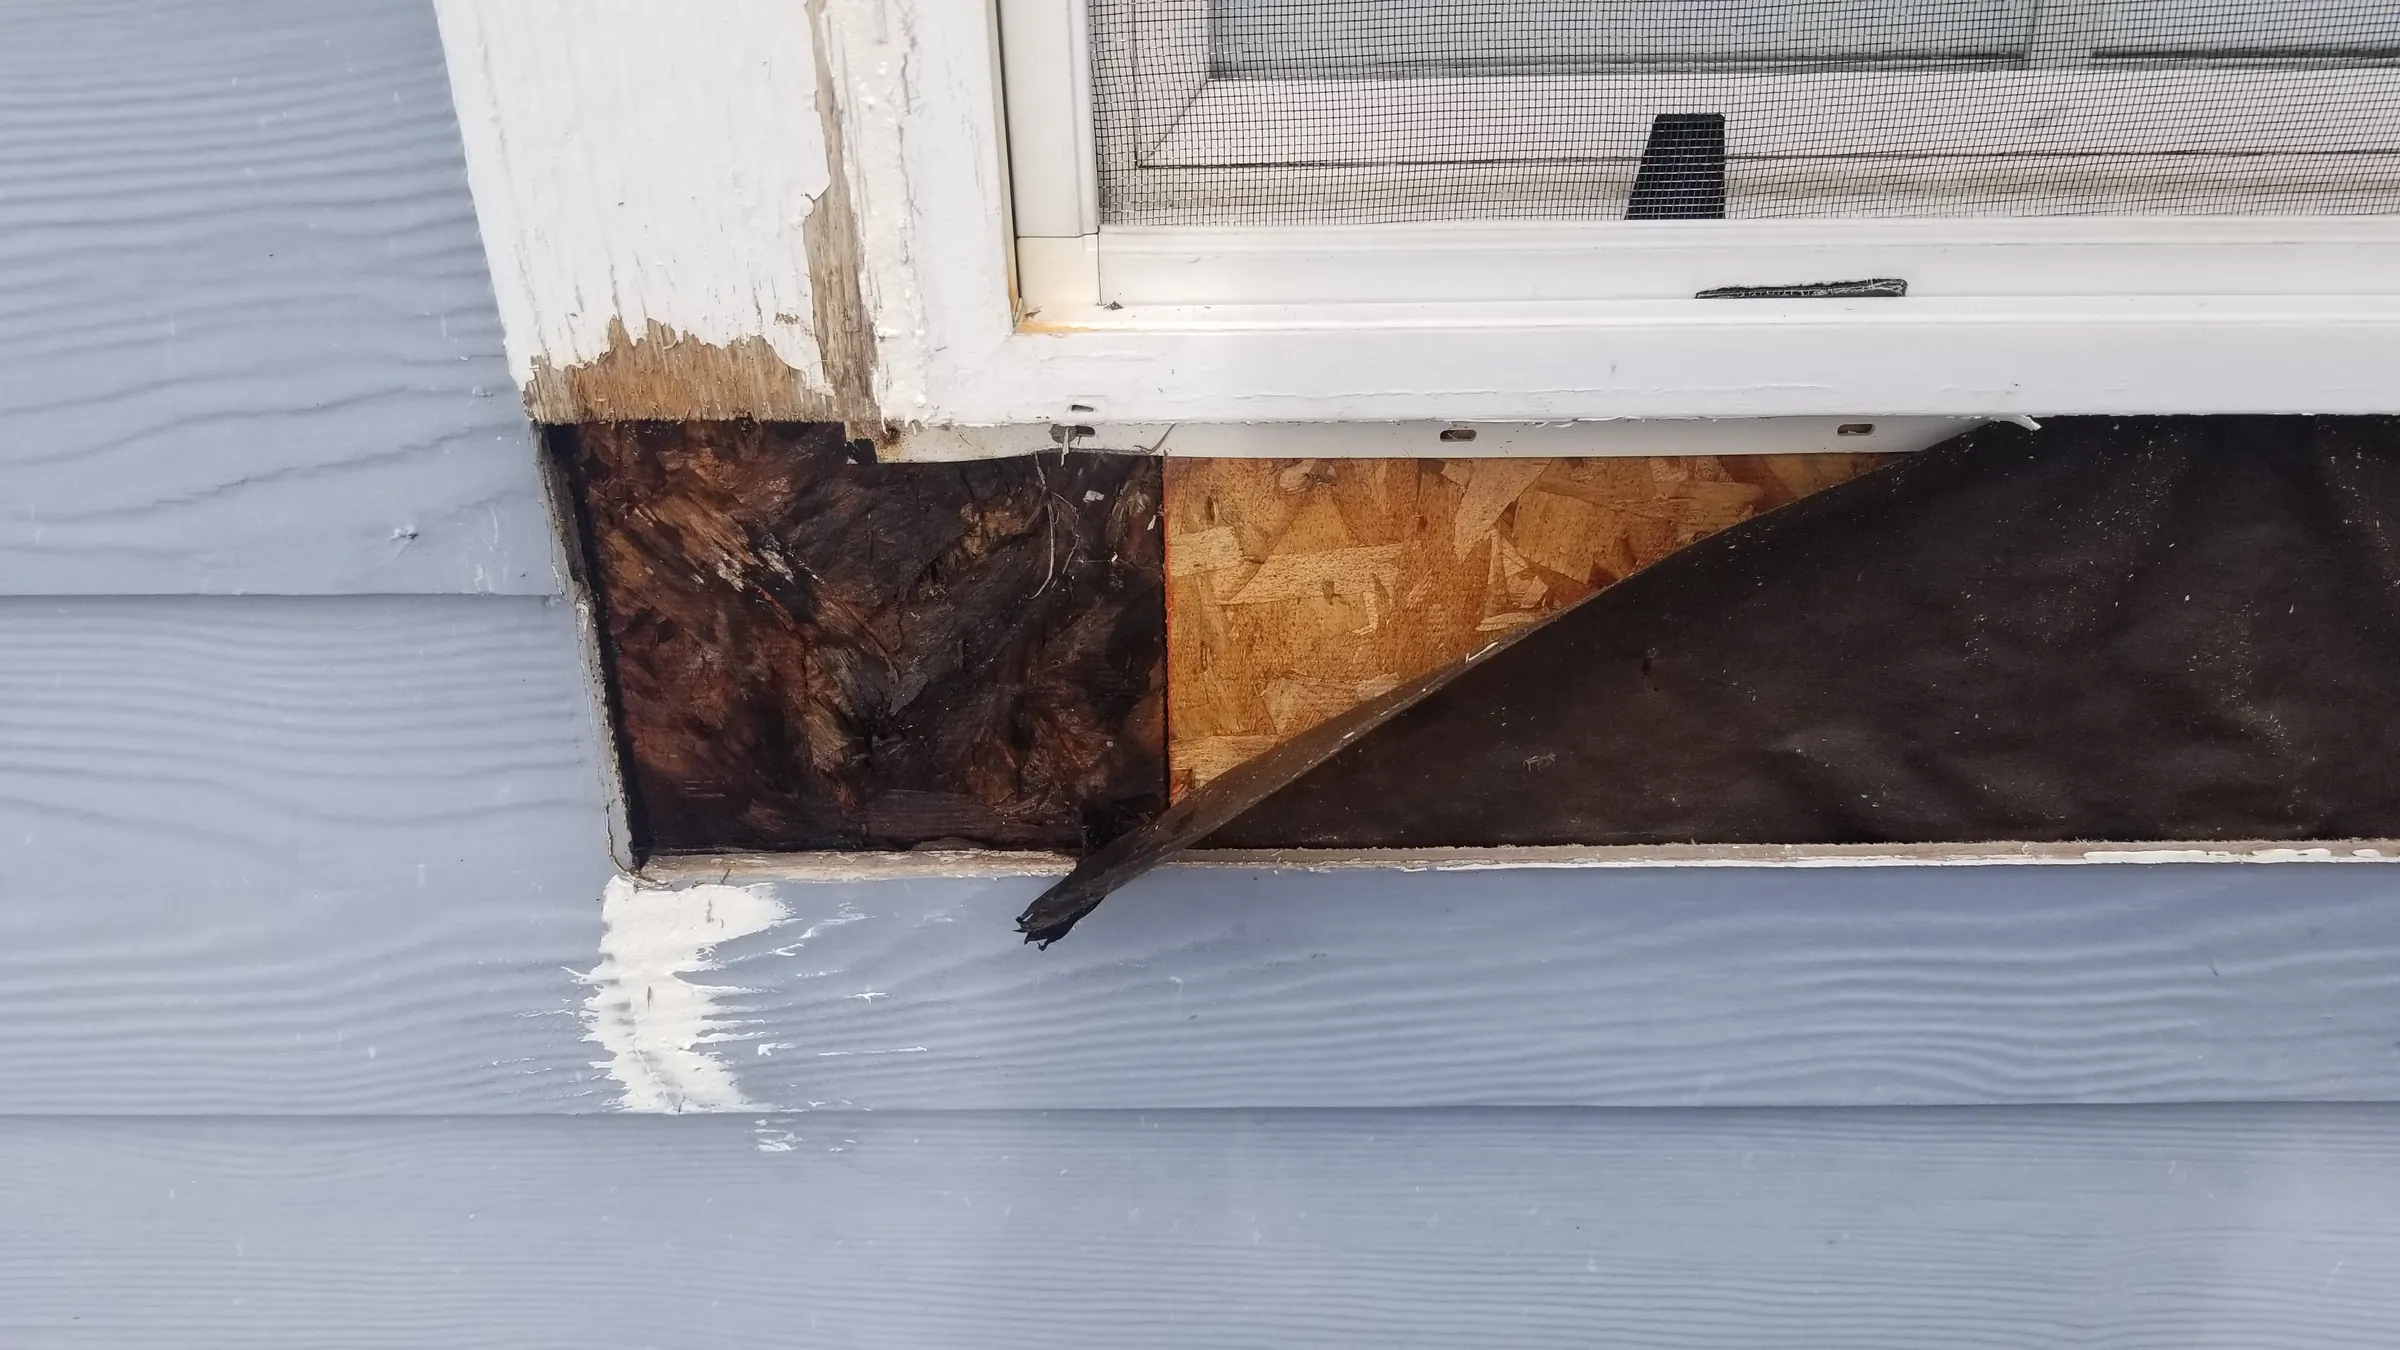
Repair. Trim off — rotted sheathing and failed paper exposed 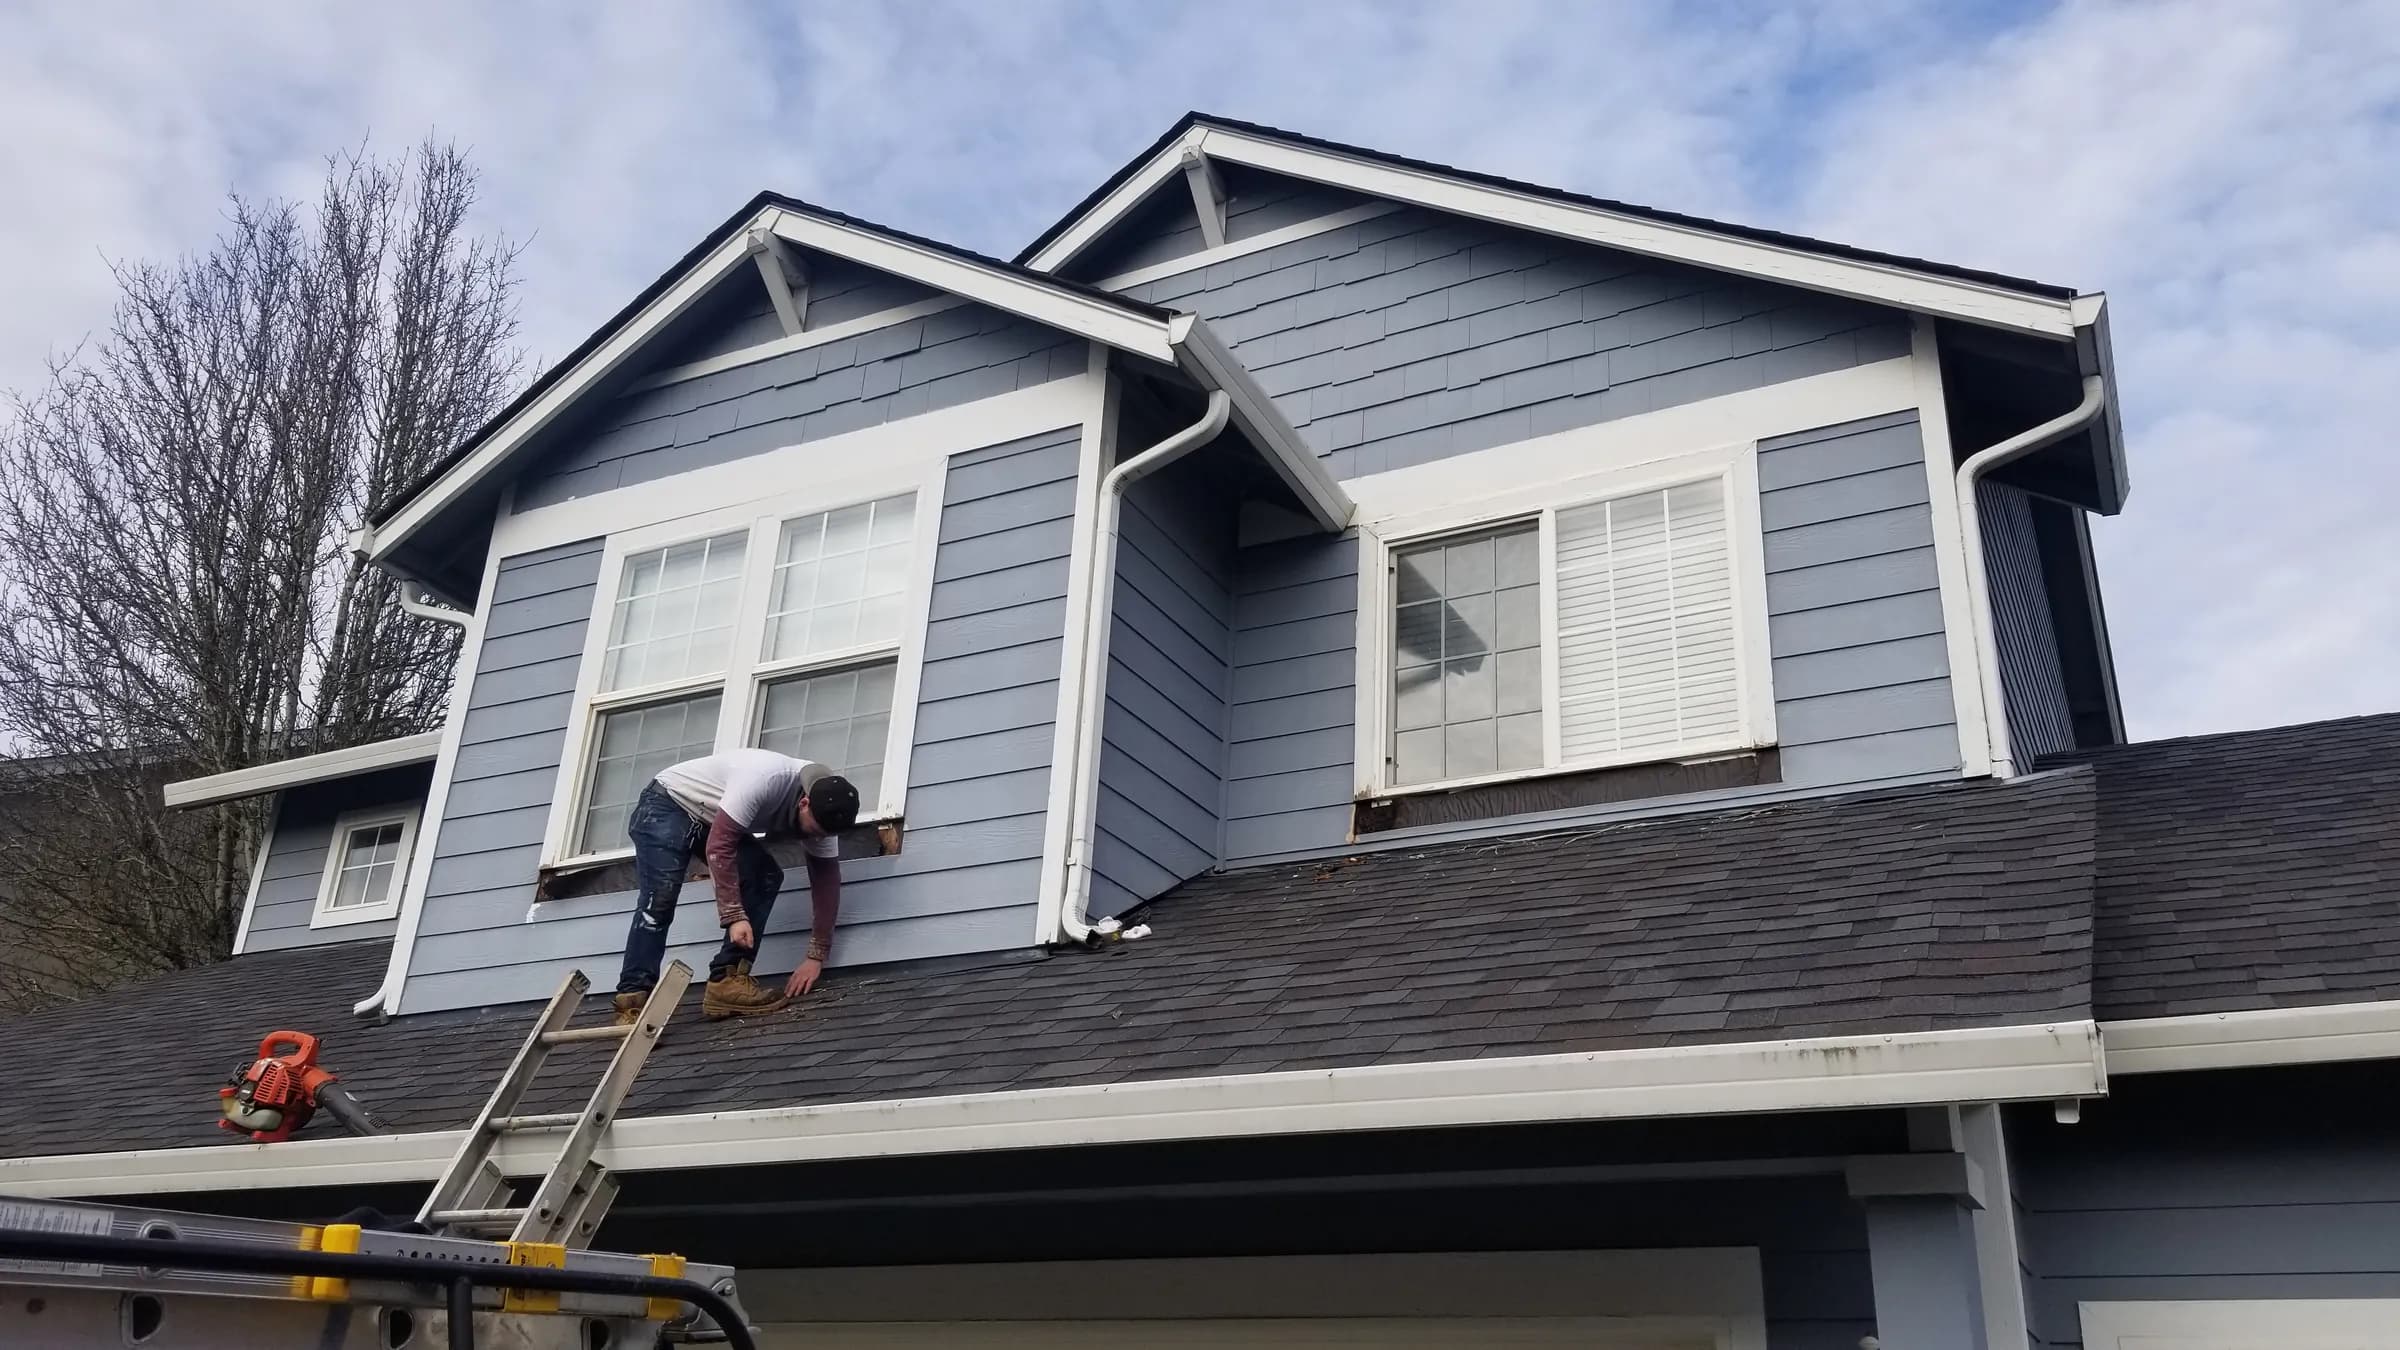
Repair. Crew on the roof at the dormer 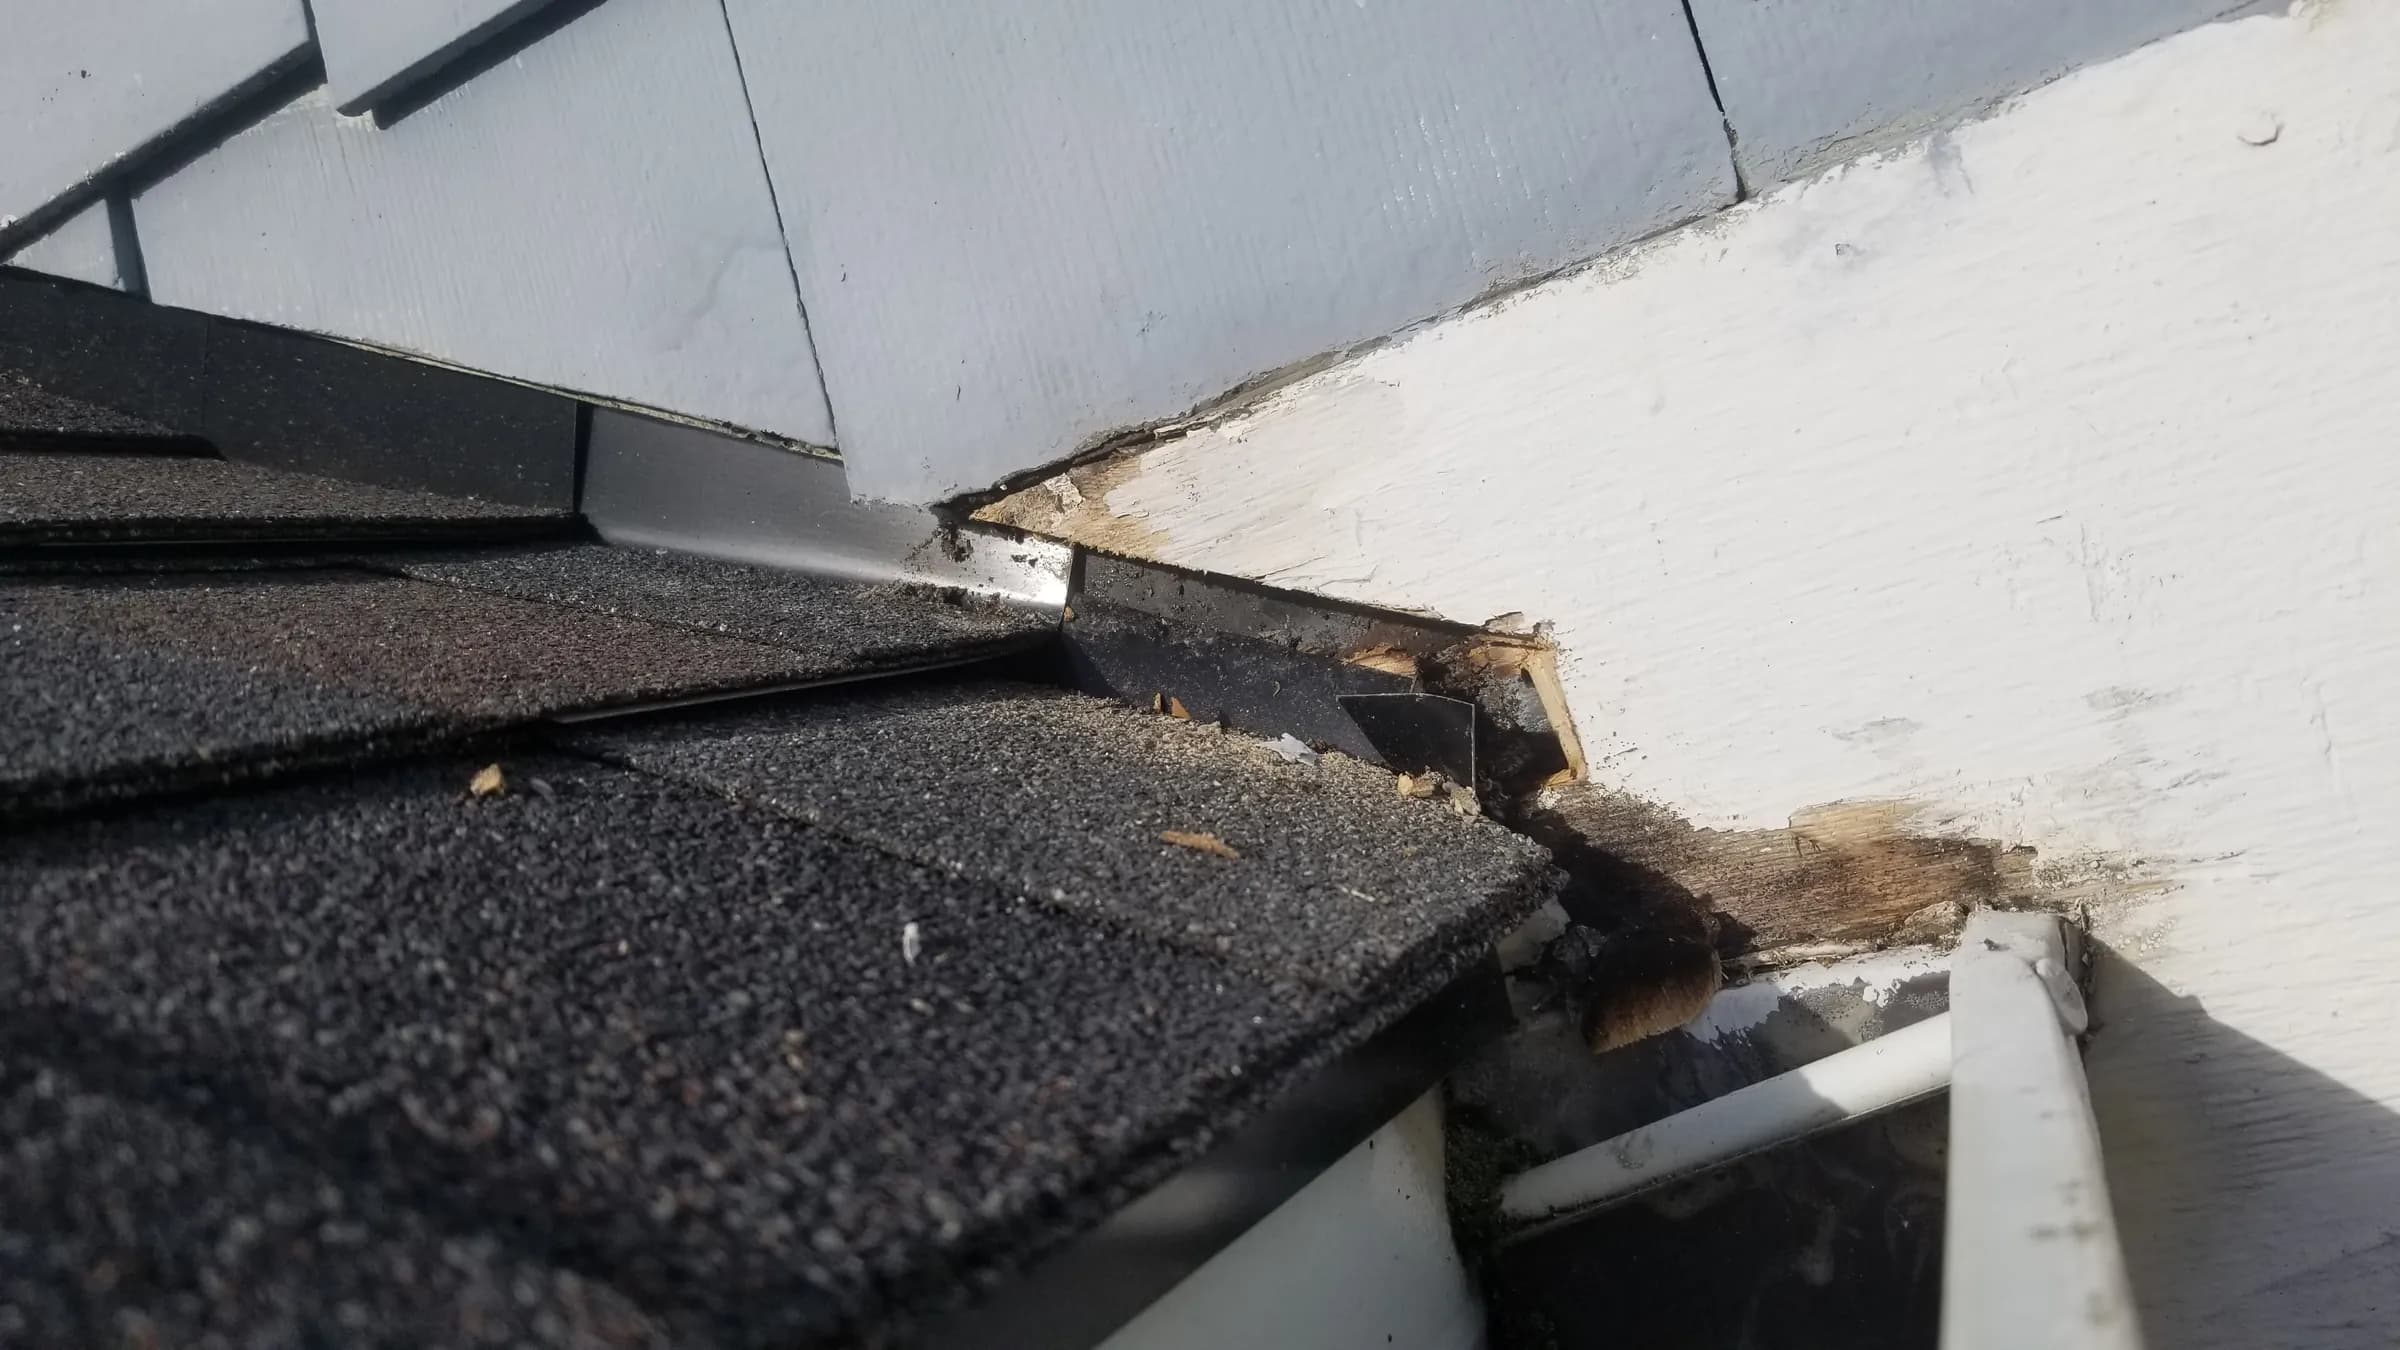
Before. The kickout area — rot where the roof meets the wall 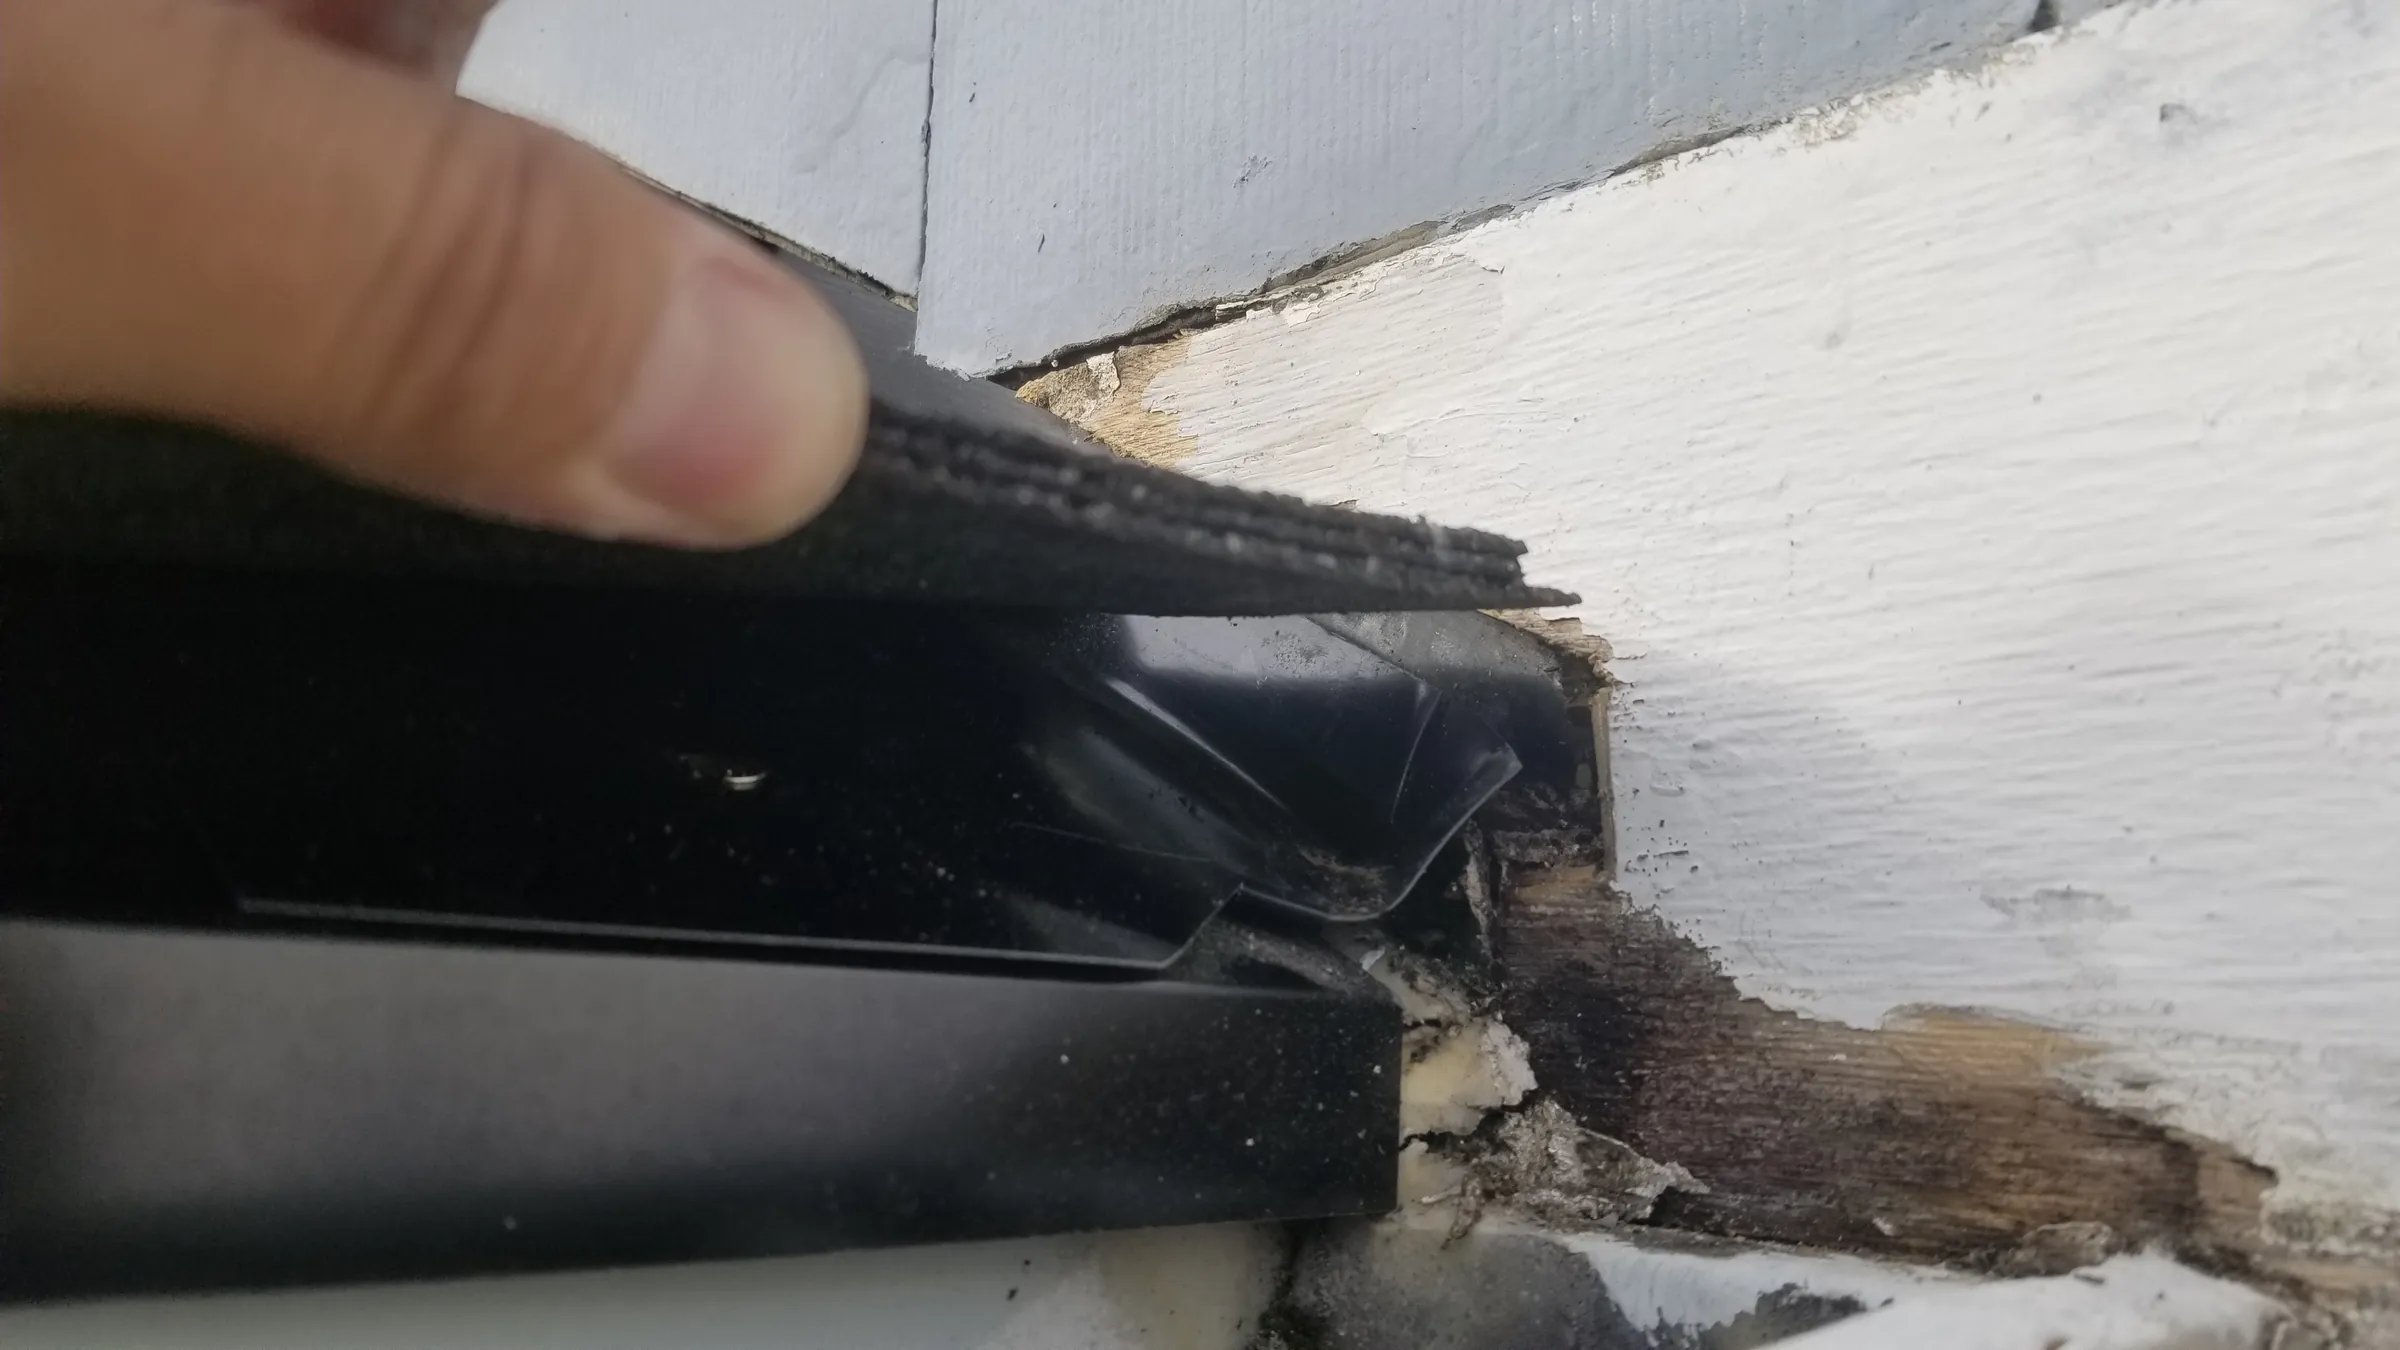
Before. Lifting the flashing at the failed kickout — the water entry point - Day03Jan 20
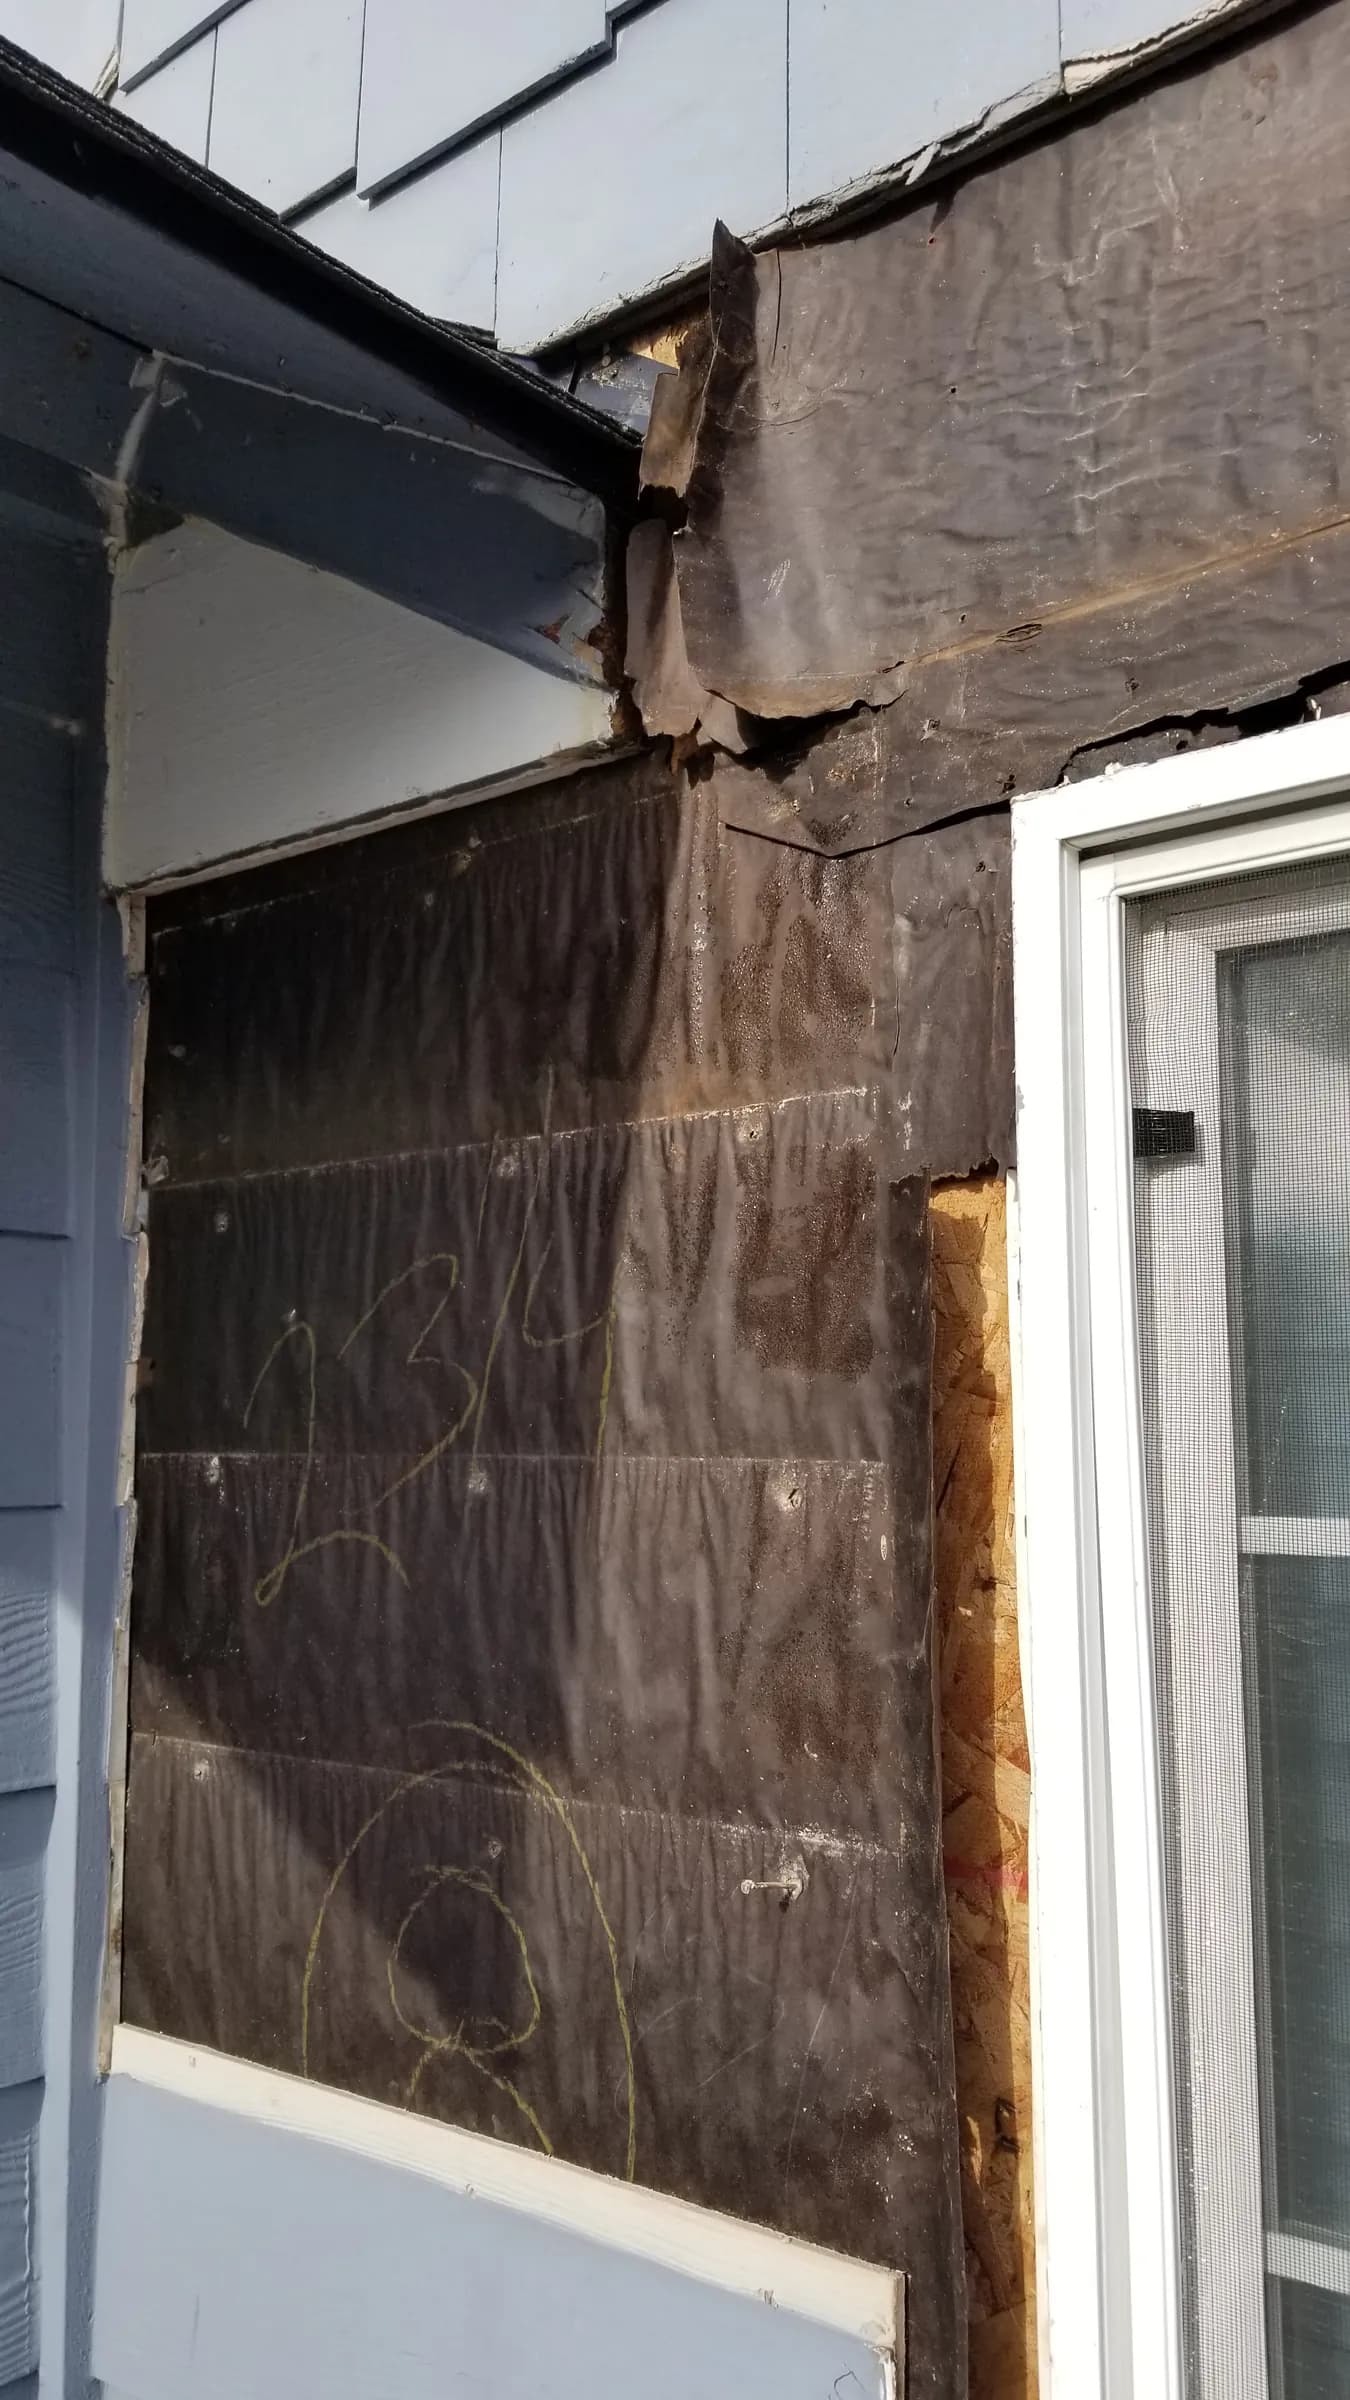
Install. Wall stripped to the building paper at the window 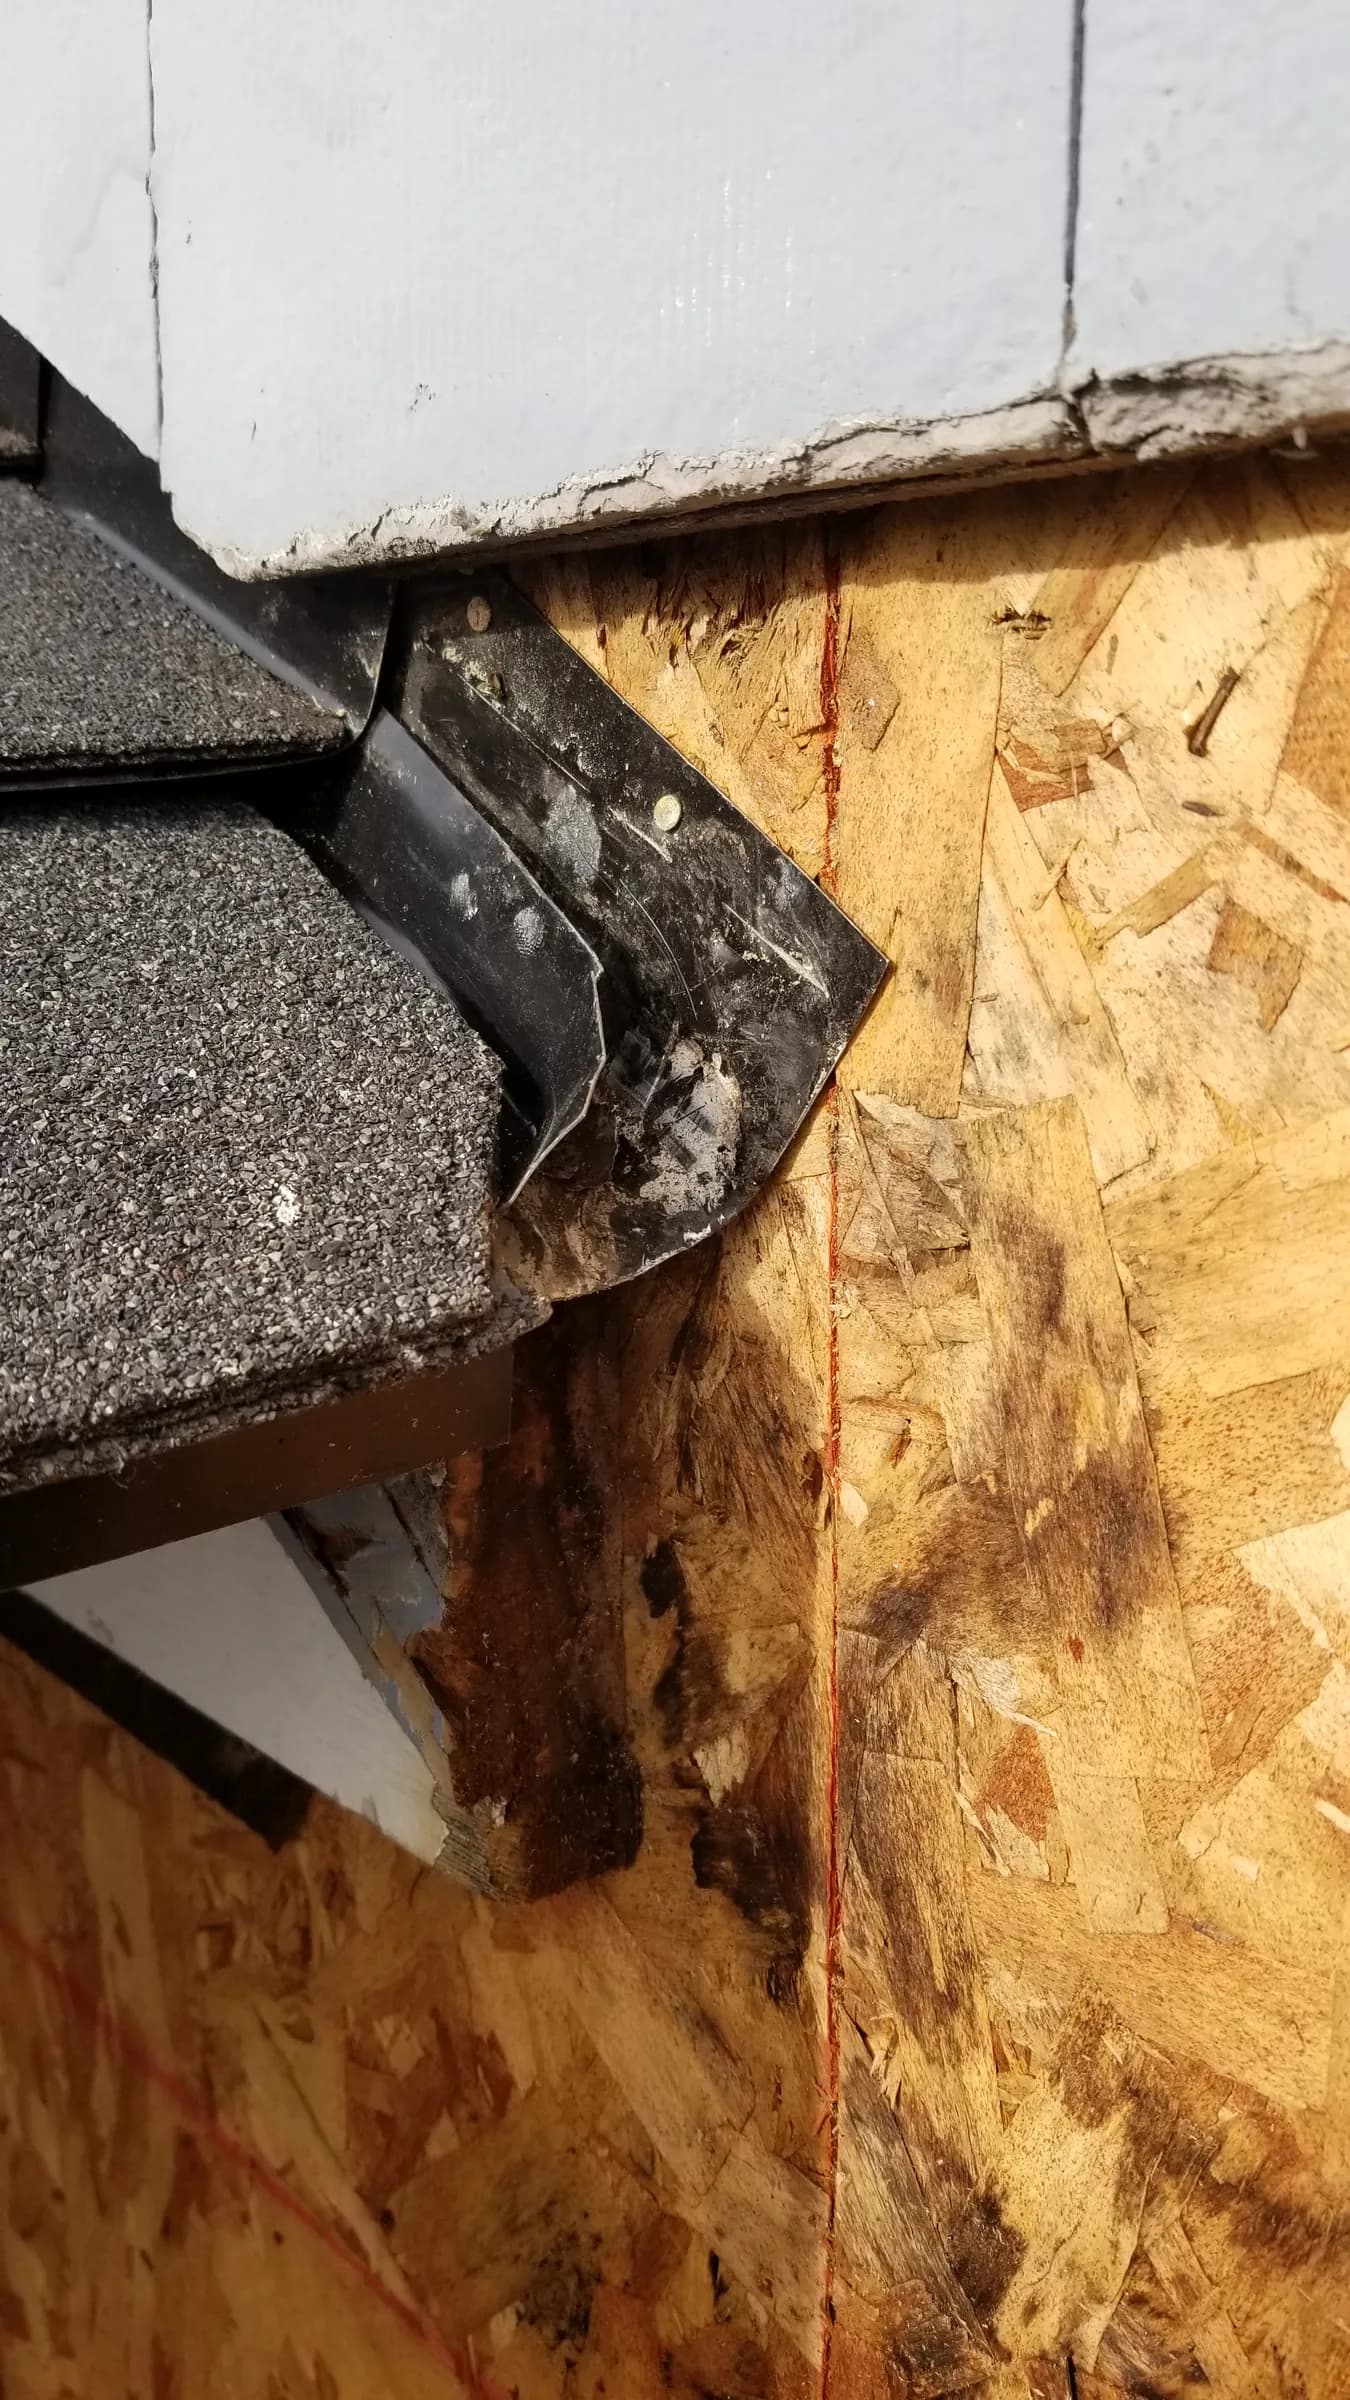
Repair. Rotted OSB sheathing at the roof junction 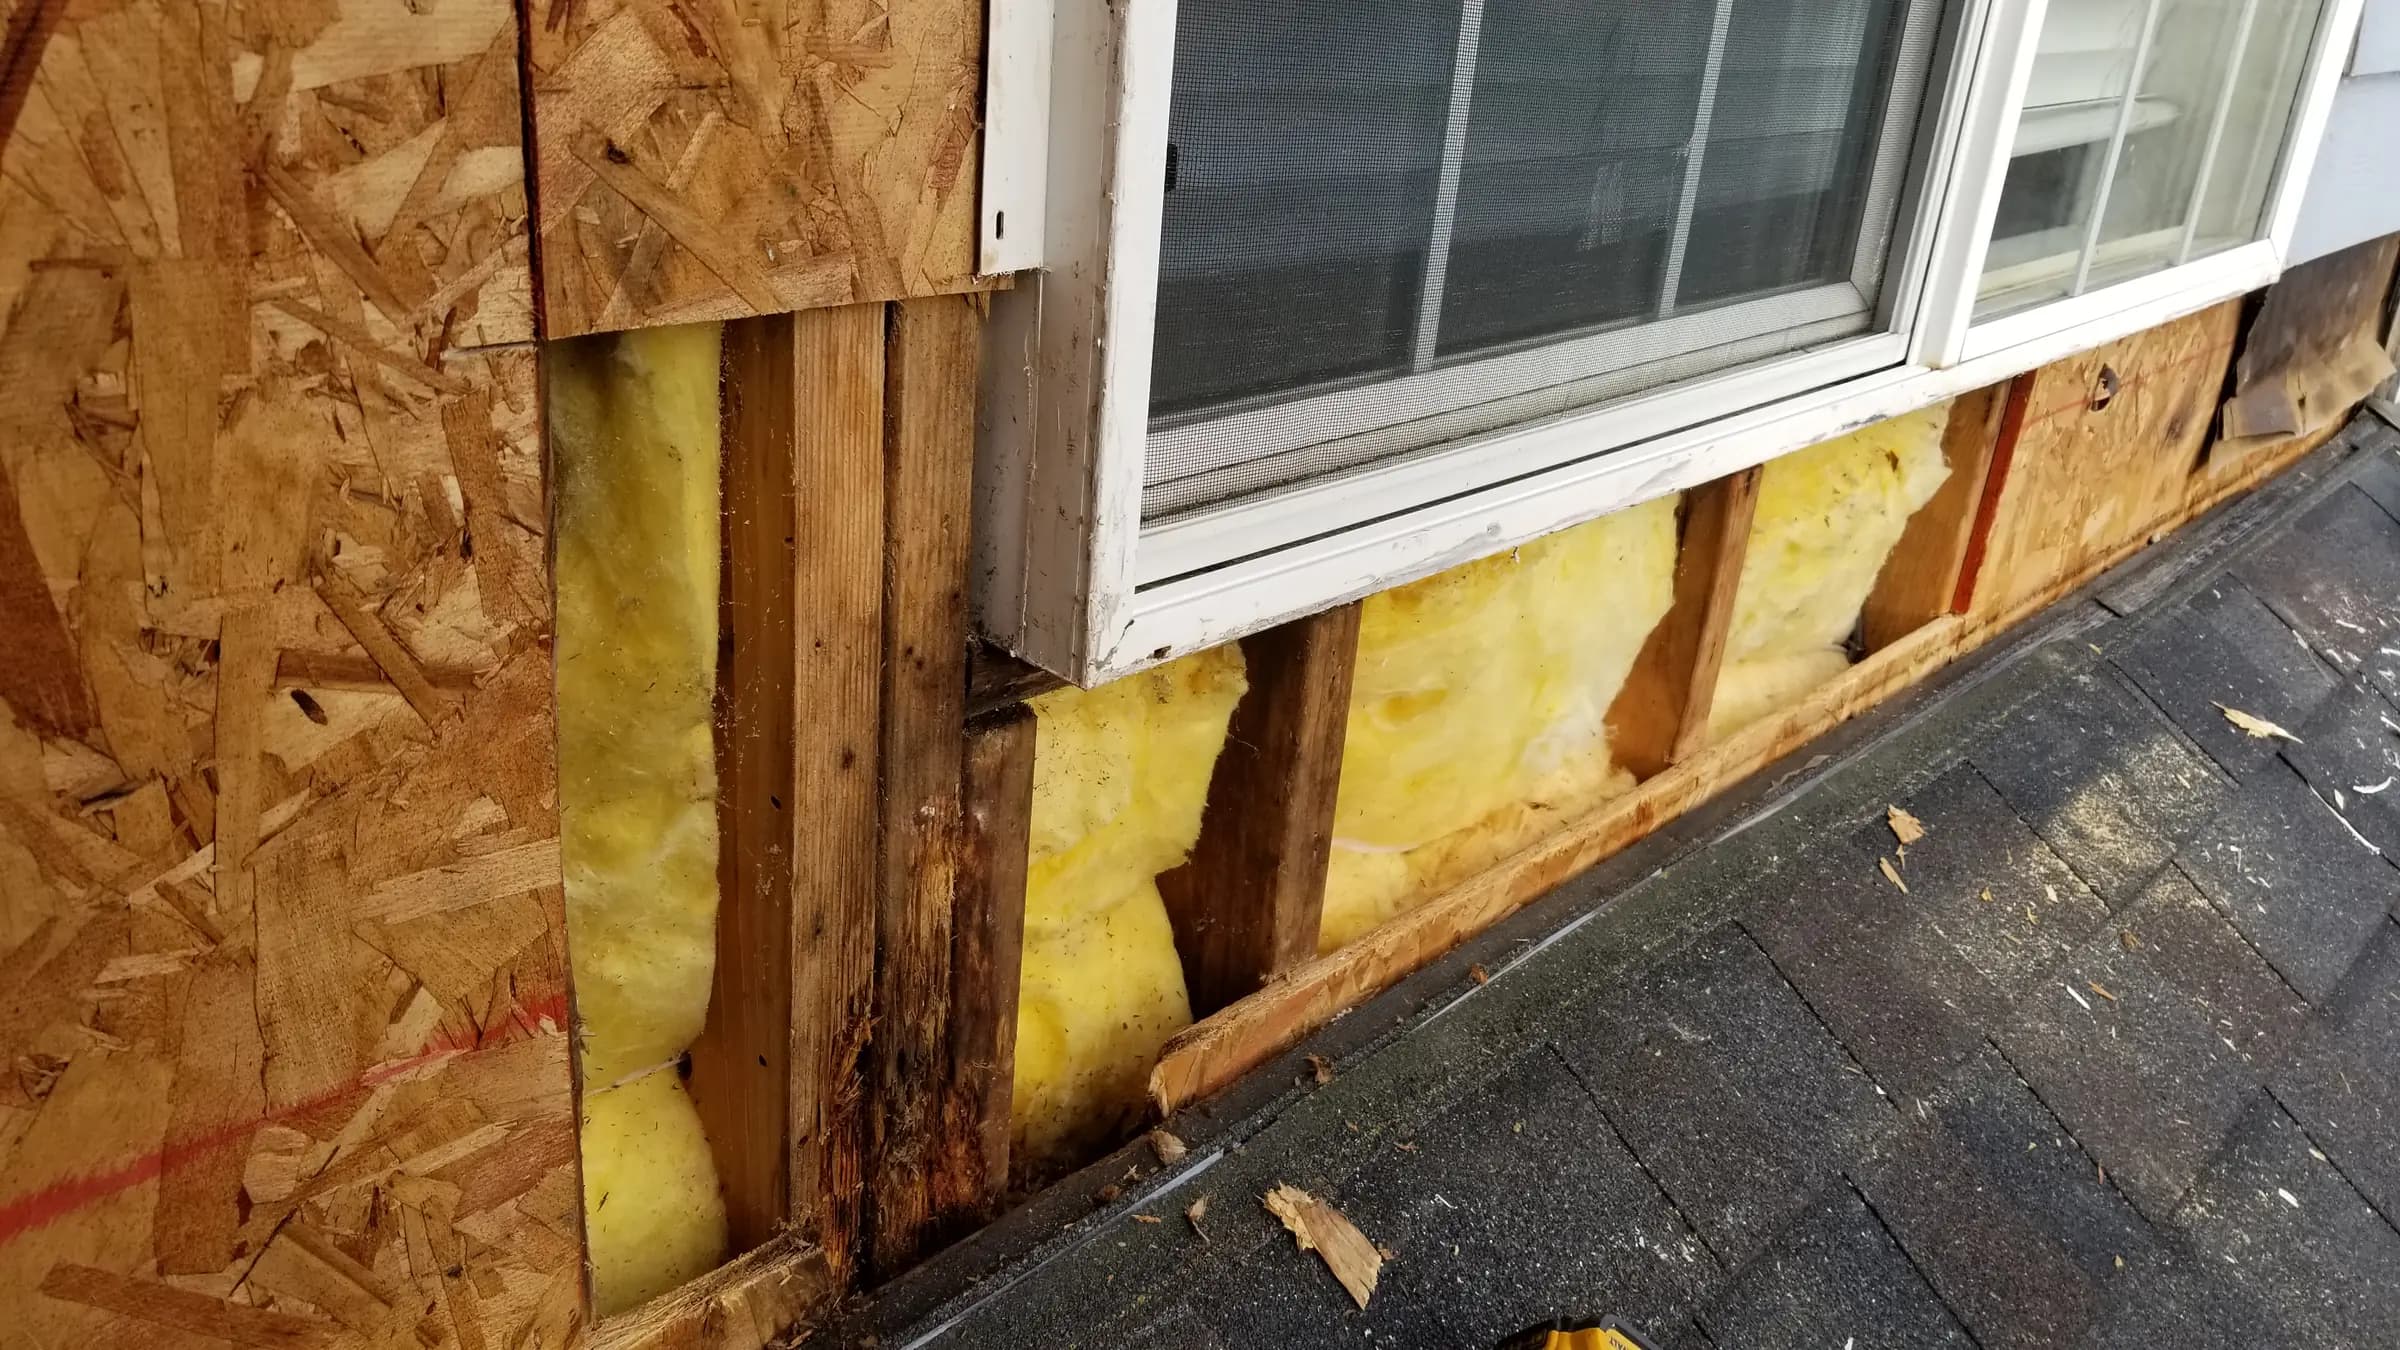
Install. Wall opened — framing sound, new sheathing going in 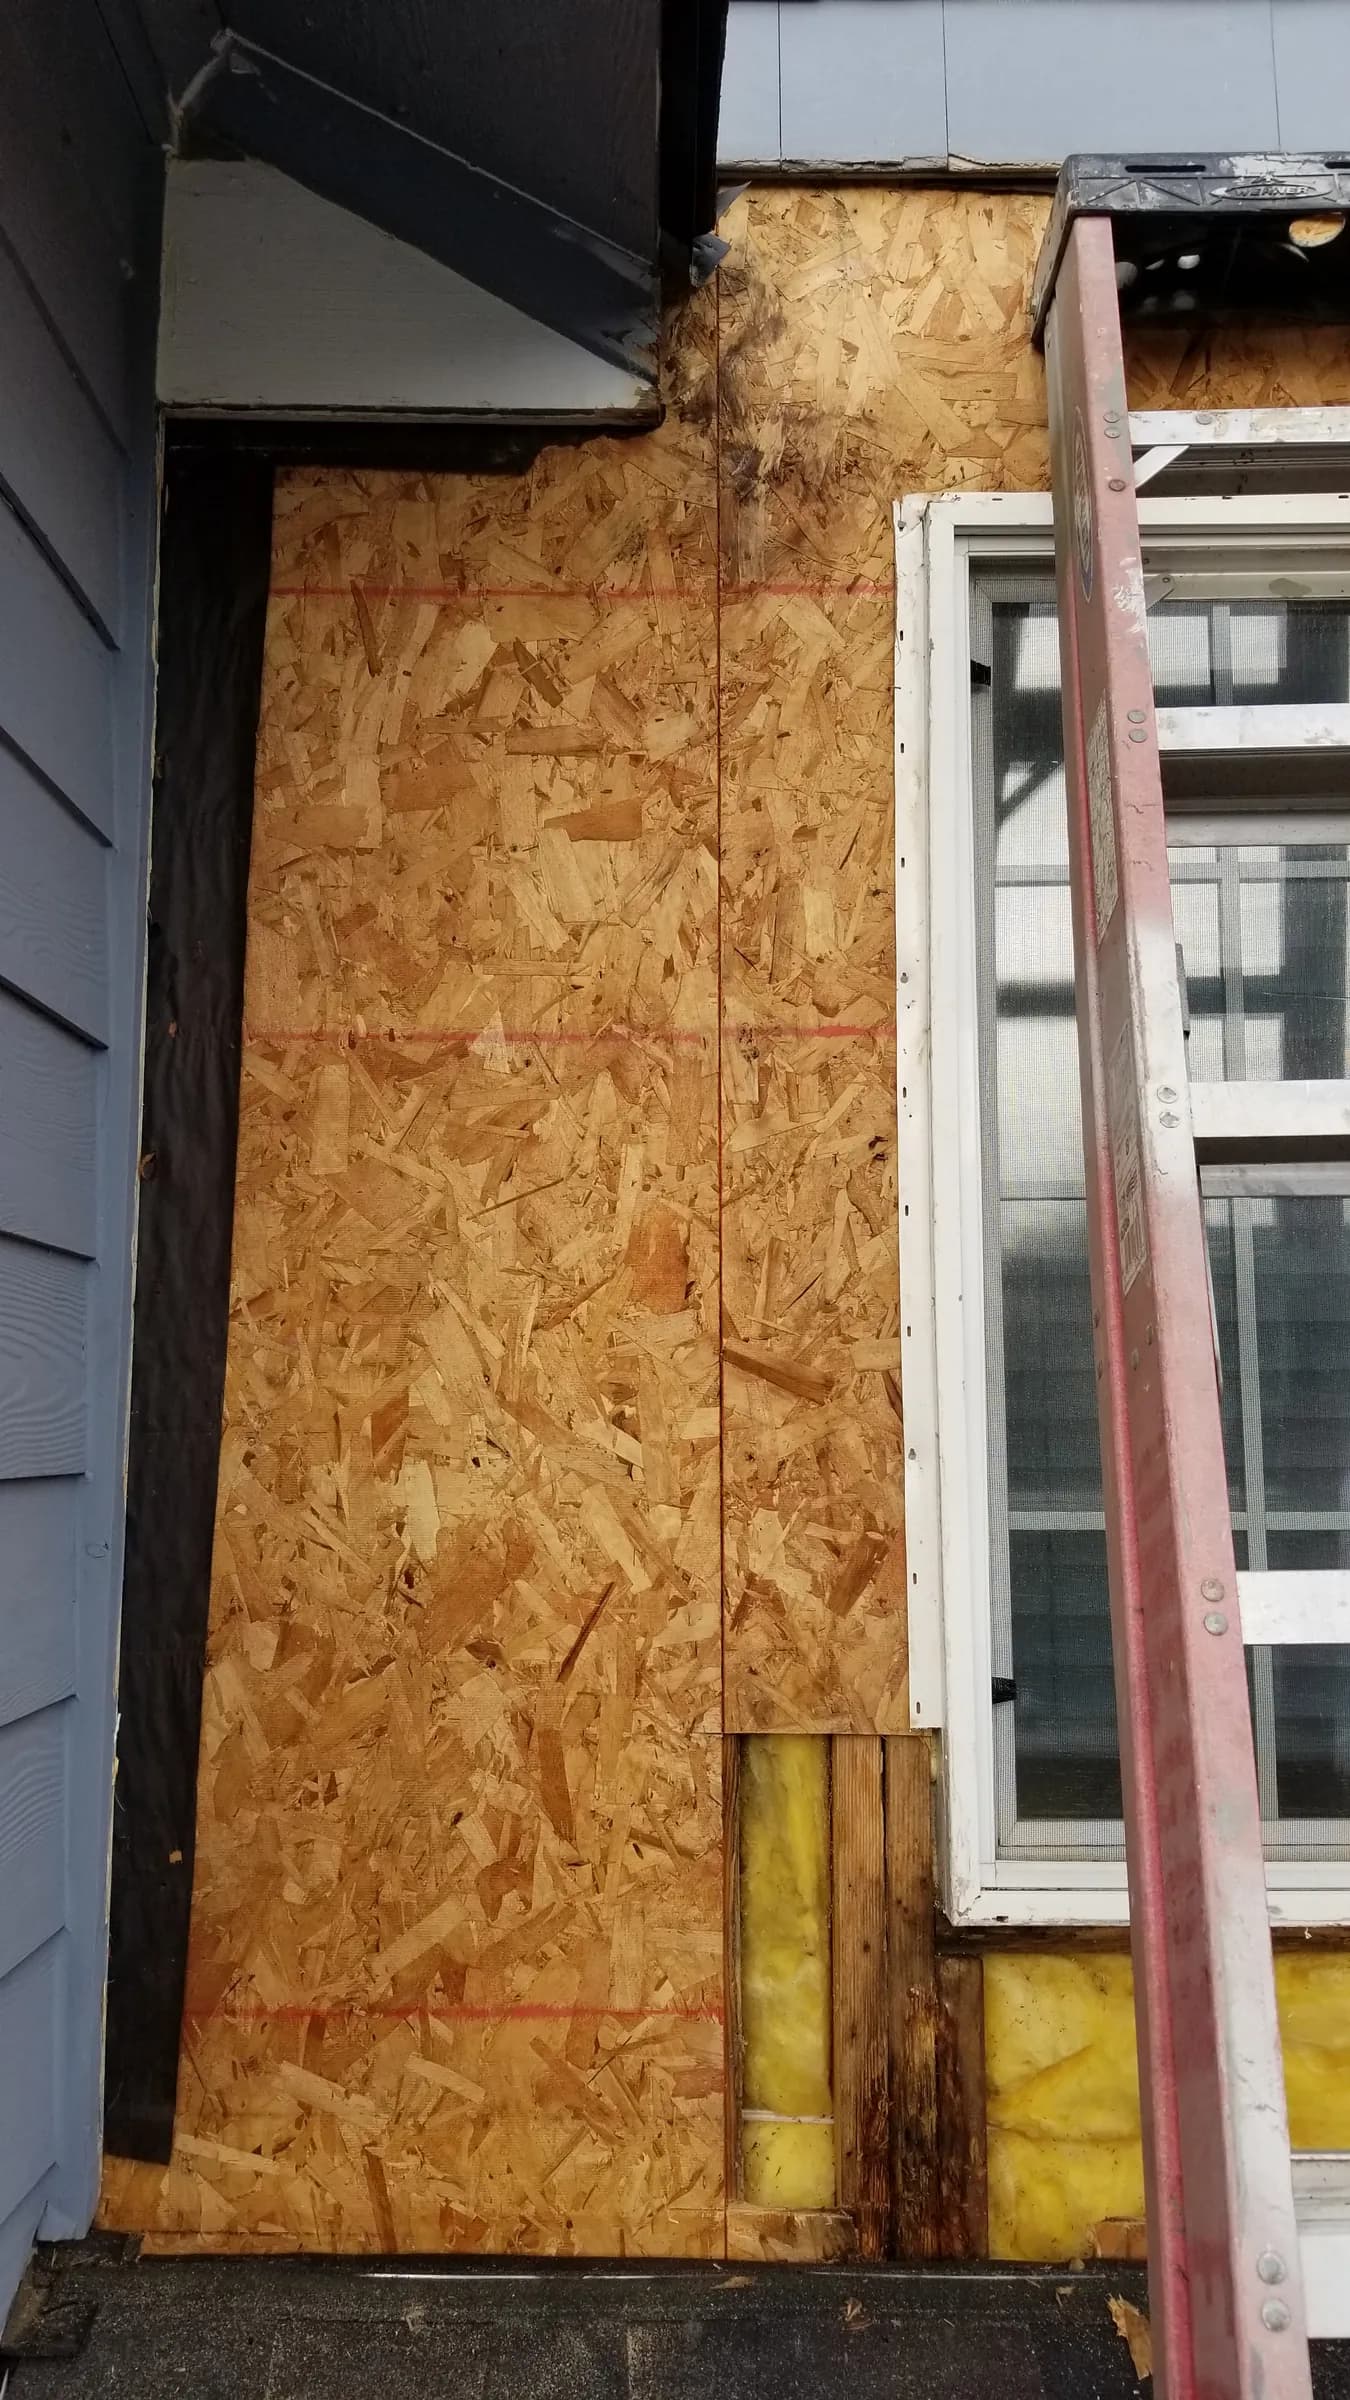
Install. New sheathing up the dormer wall 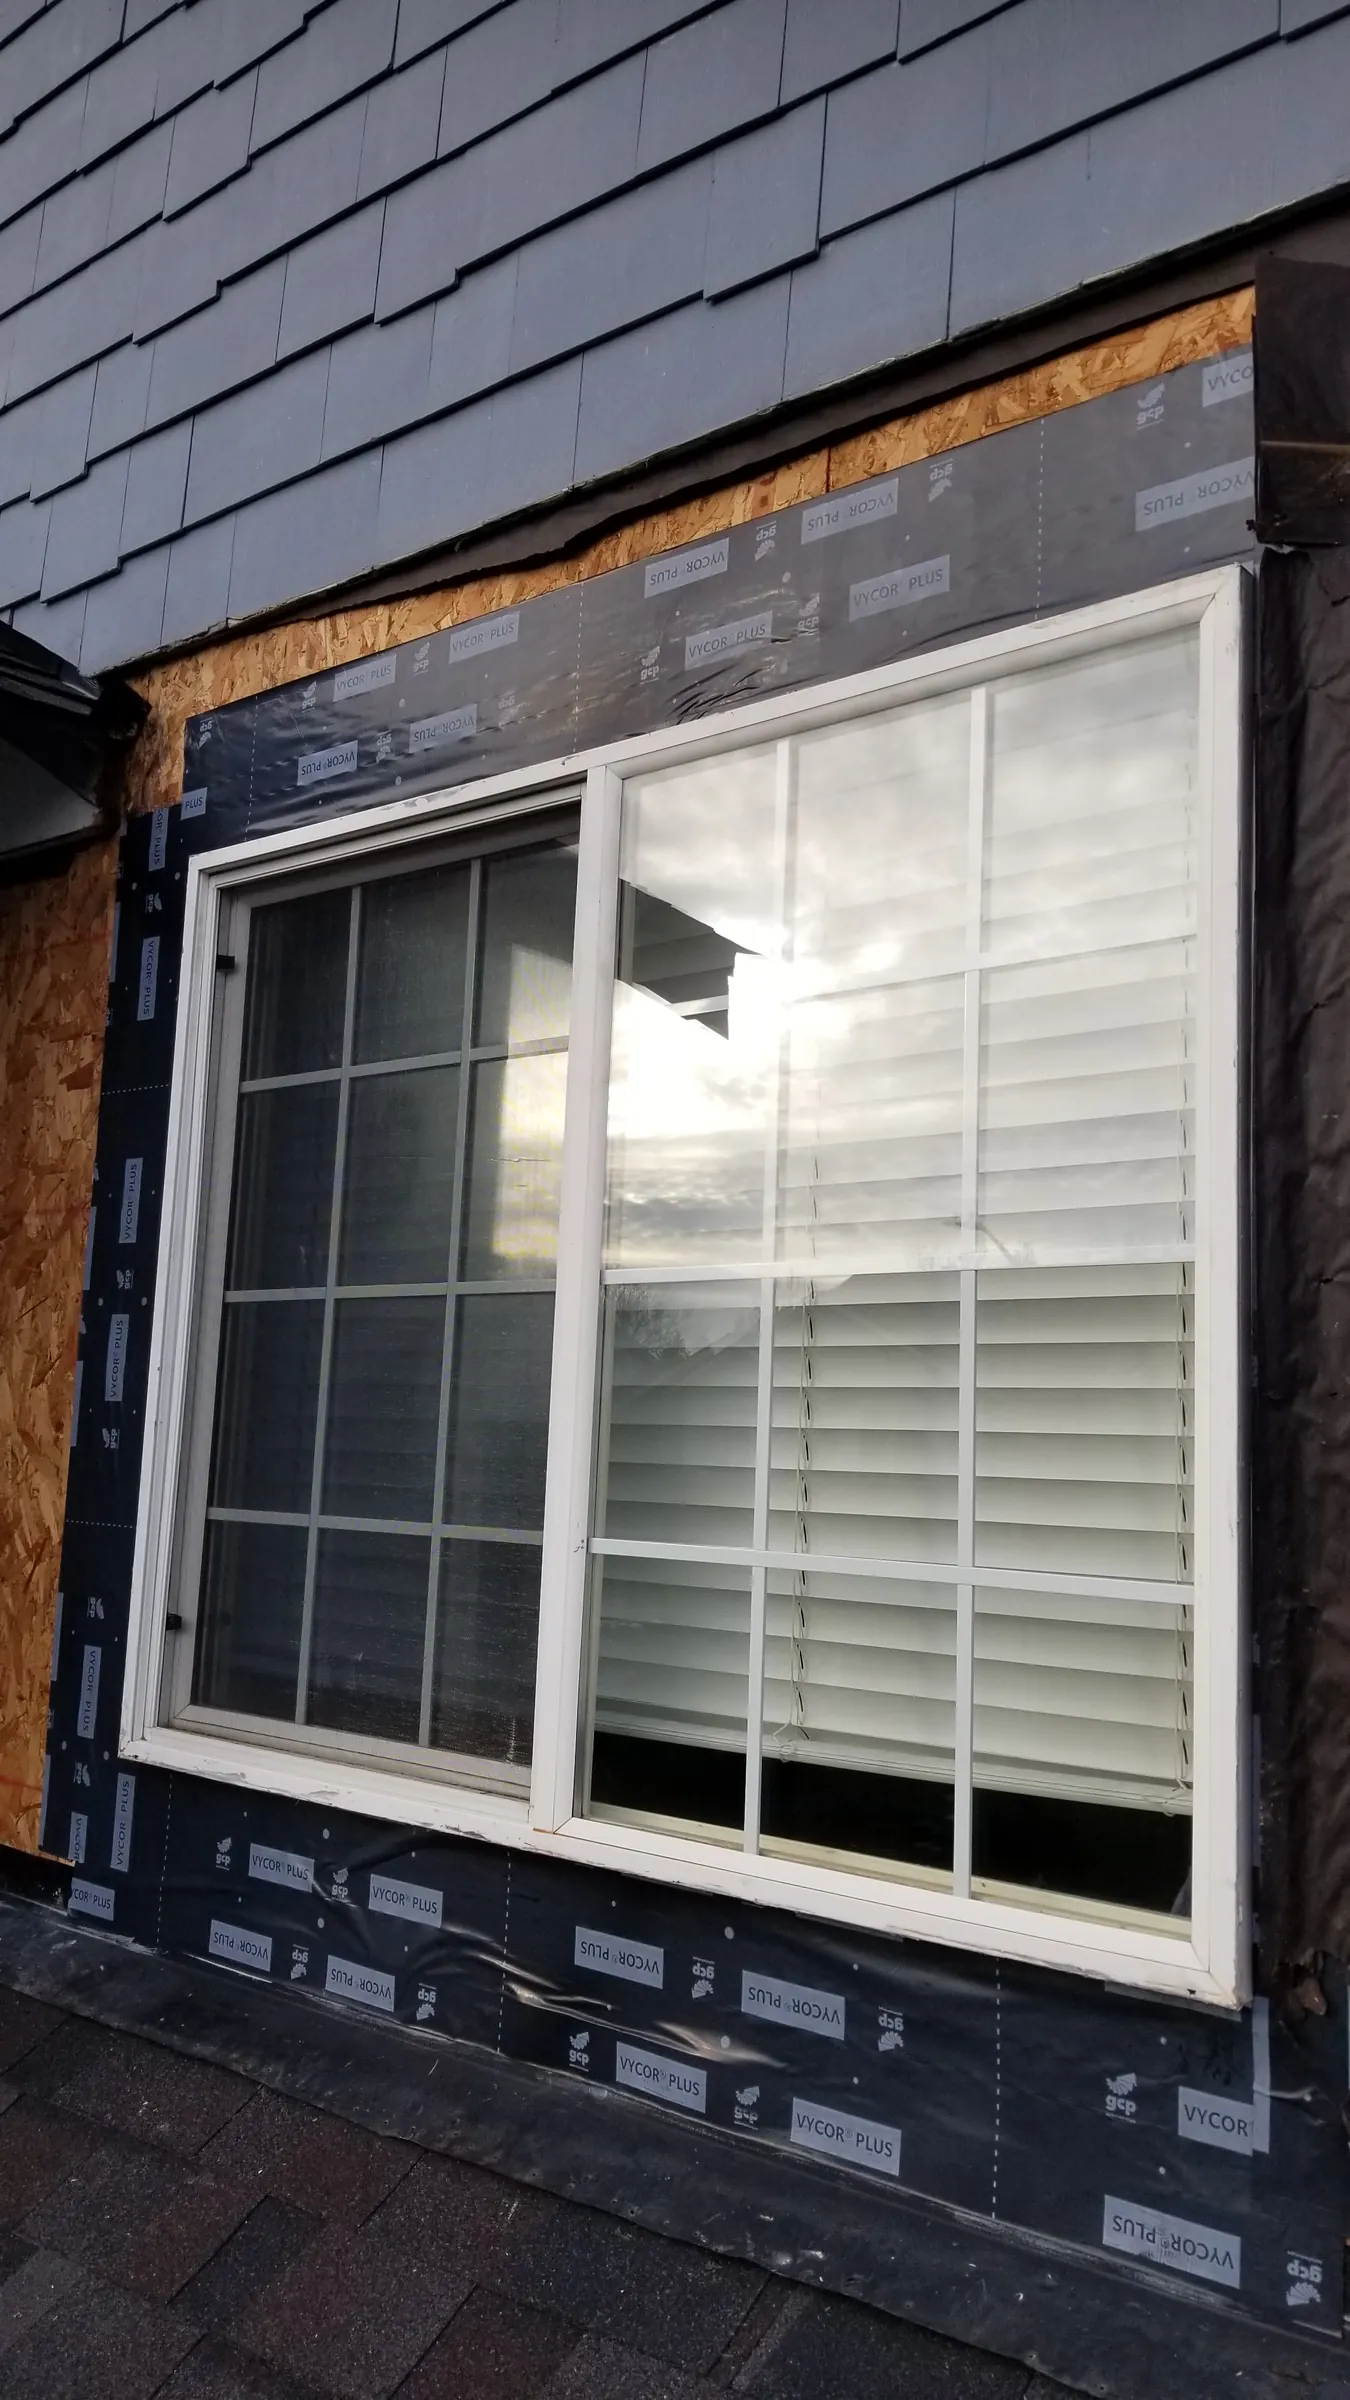
Install. New building paper and flashing around the window 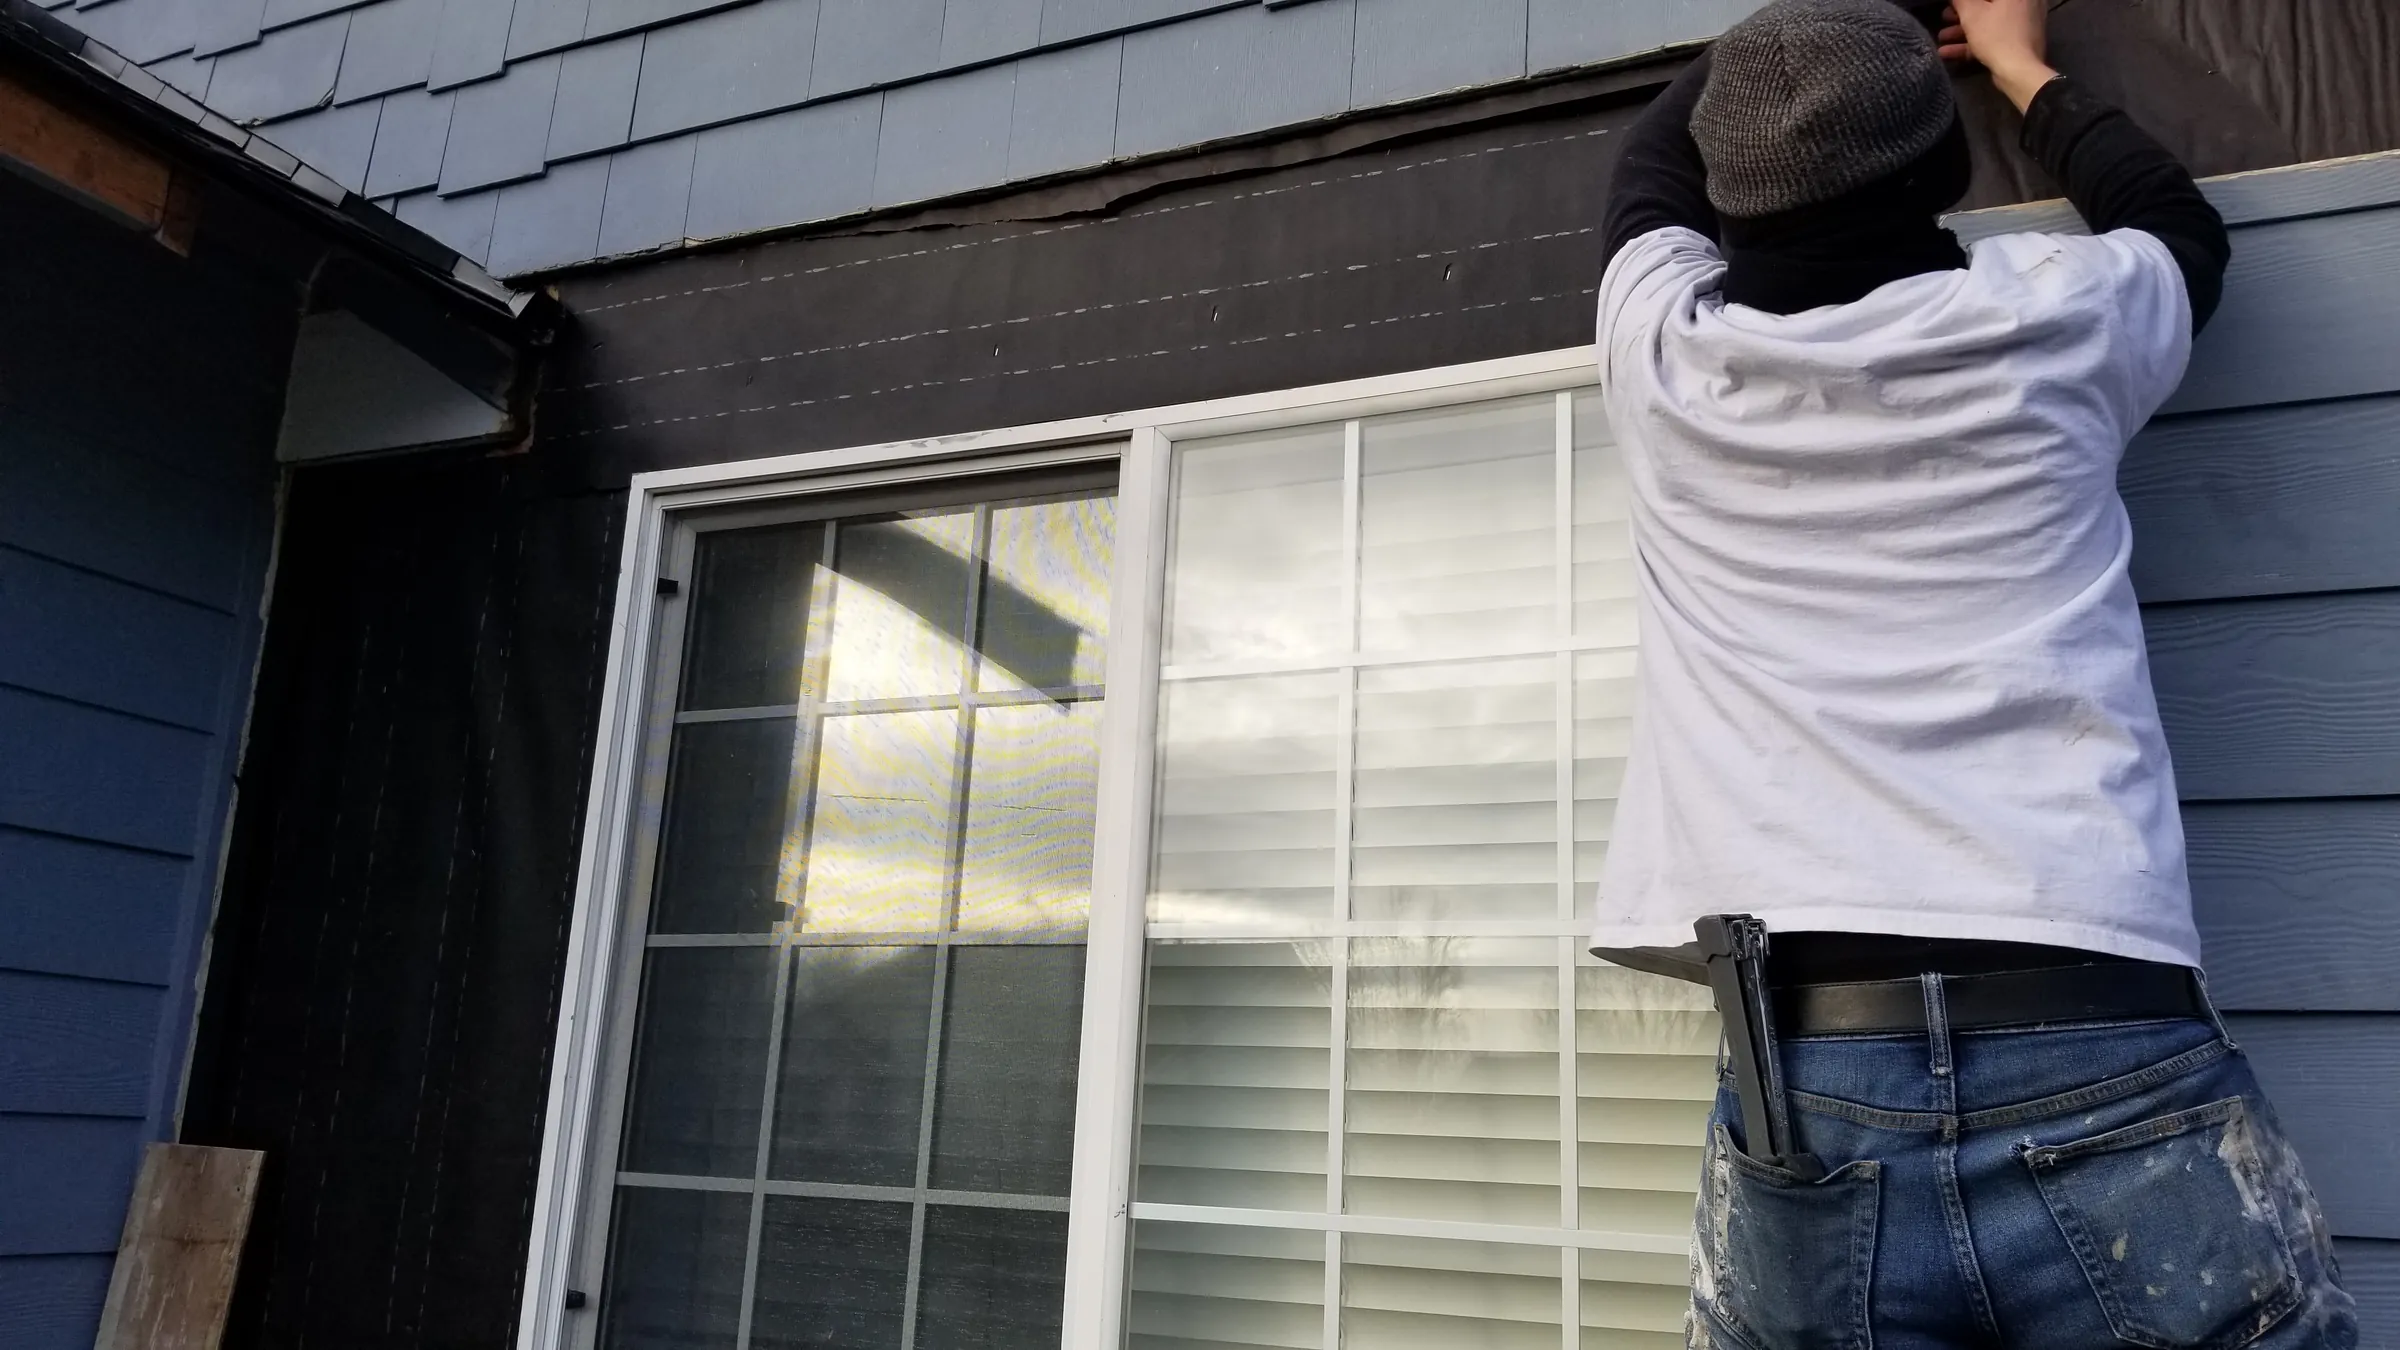
Install. Siding going back on, working from roof planks 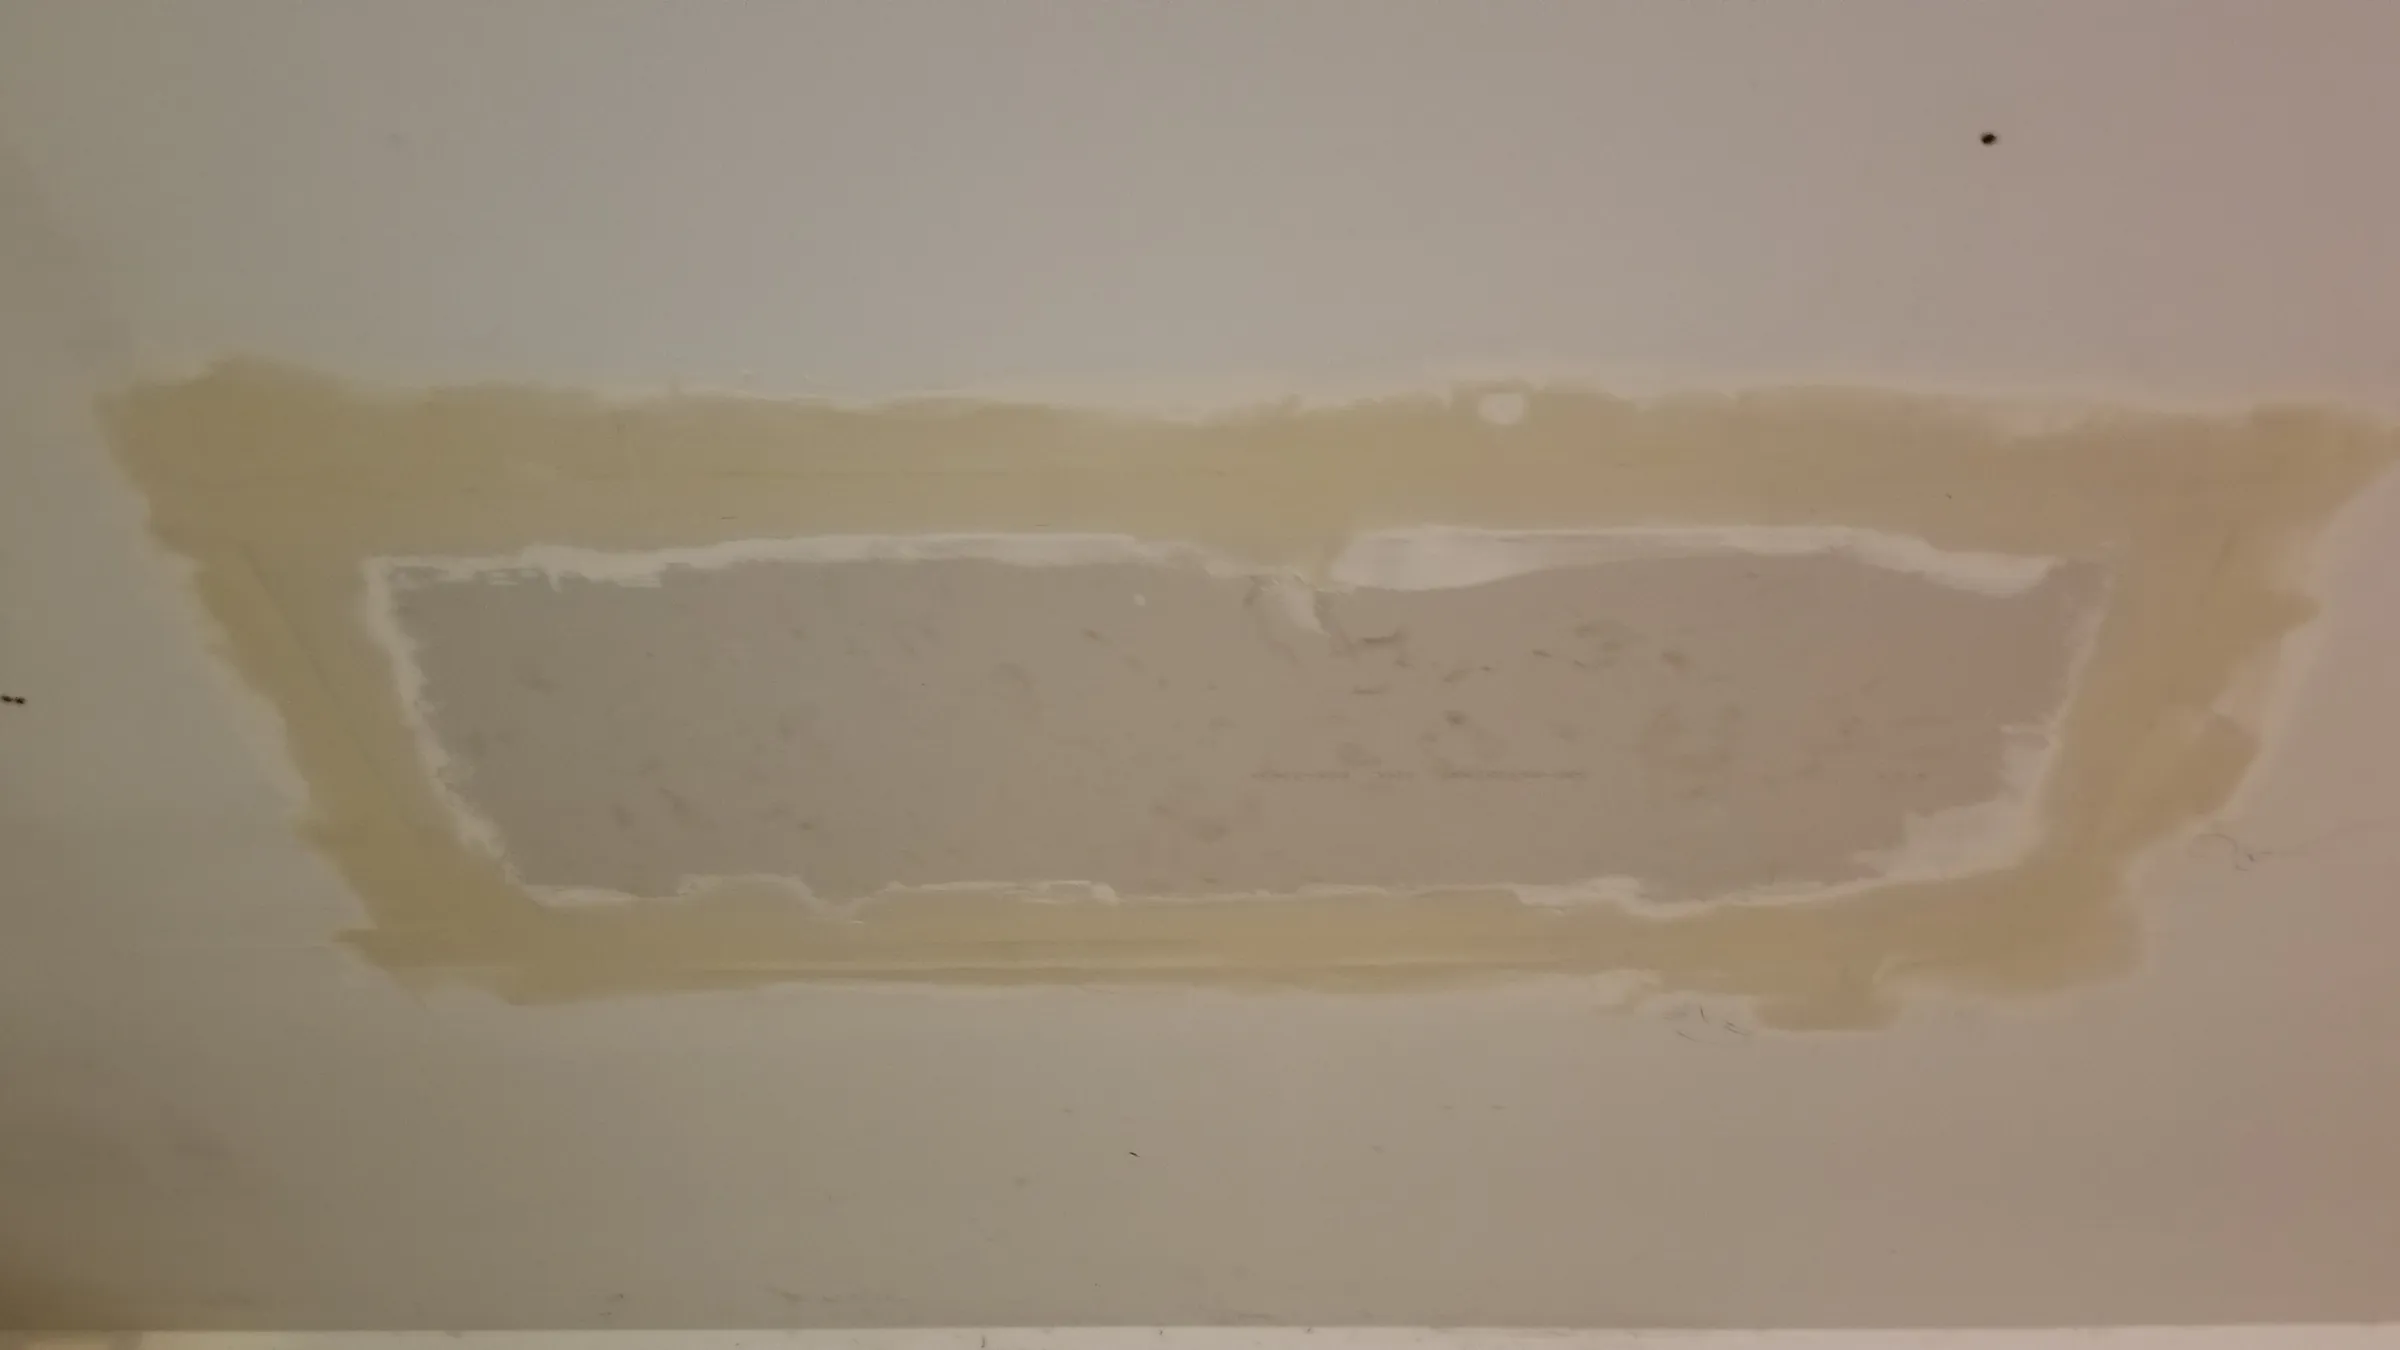
Repair. Garage ceiling patched where the leak came through 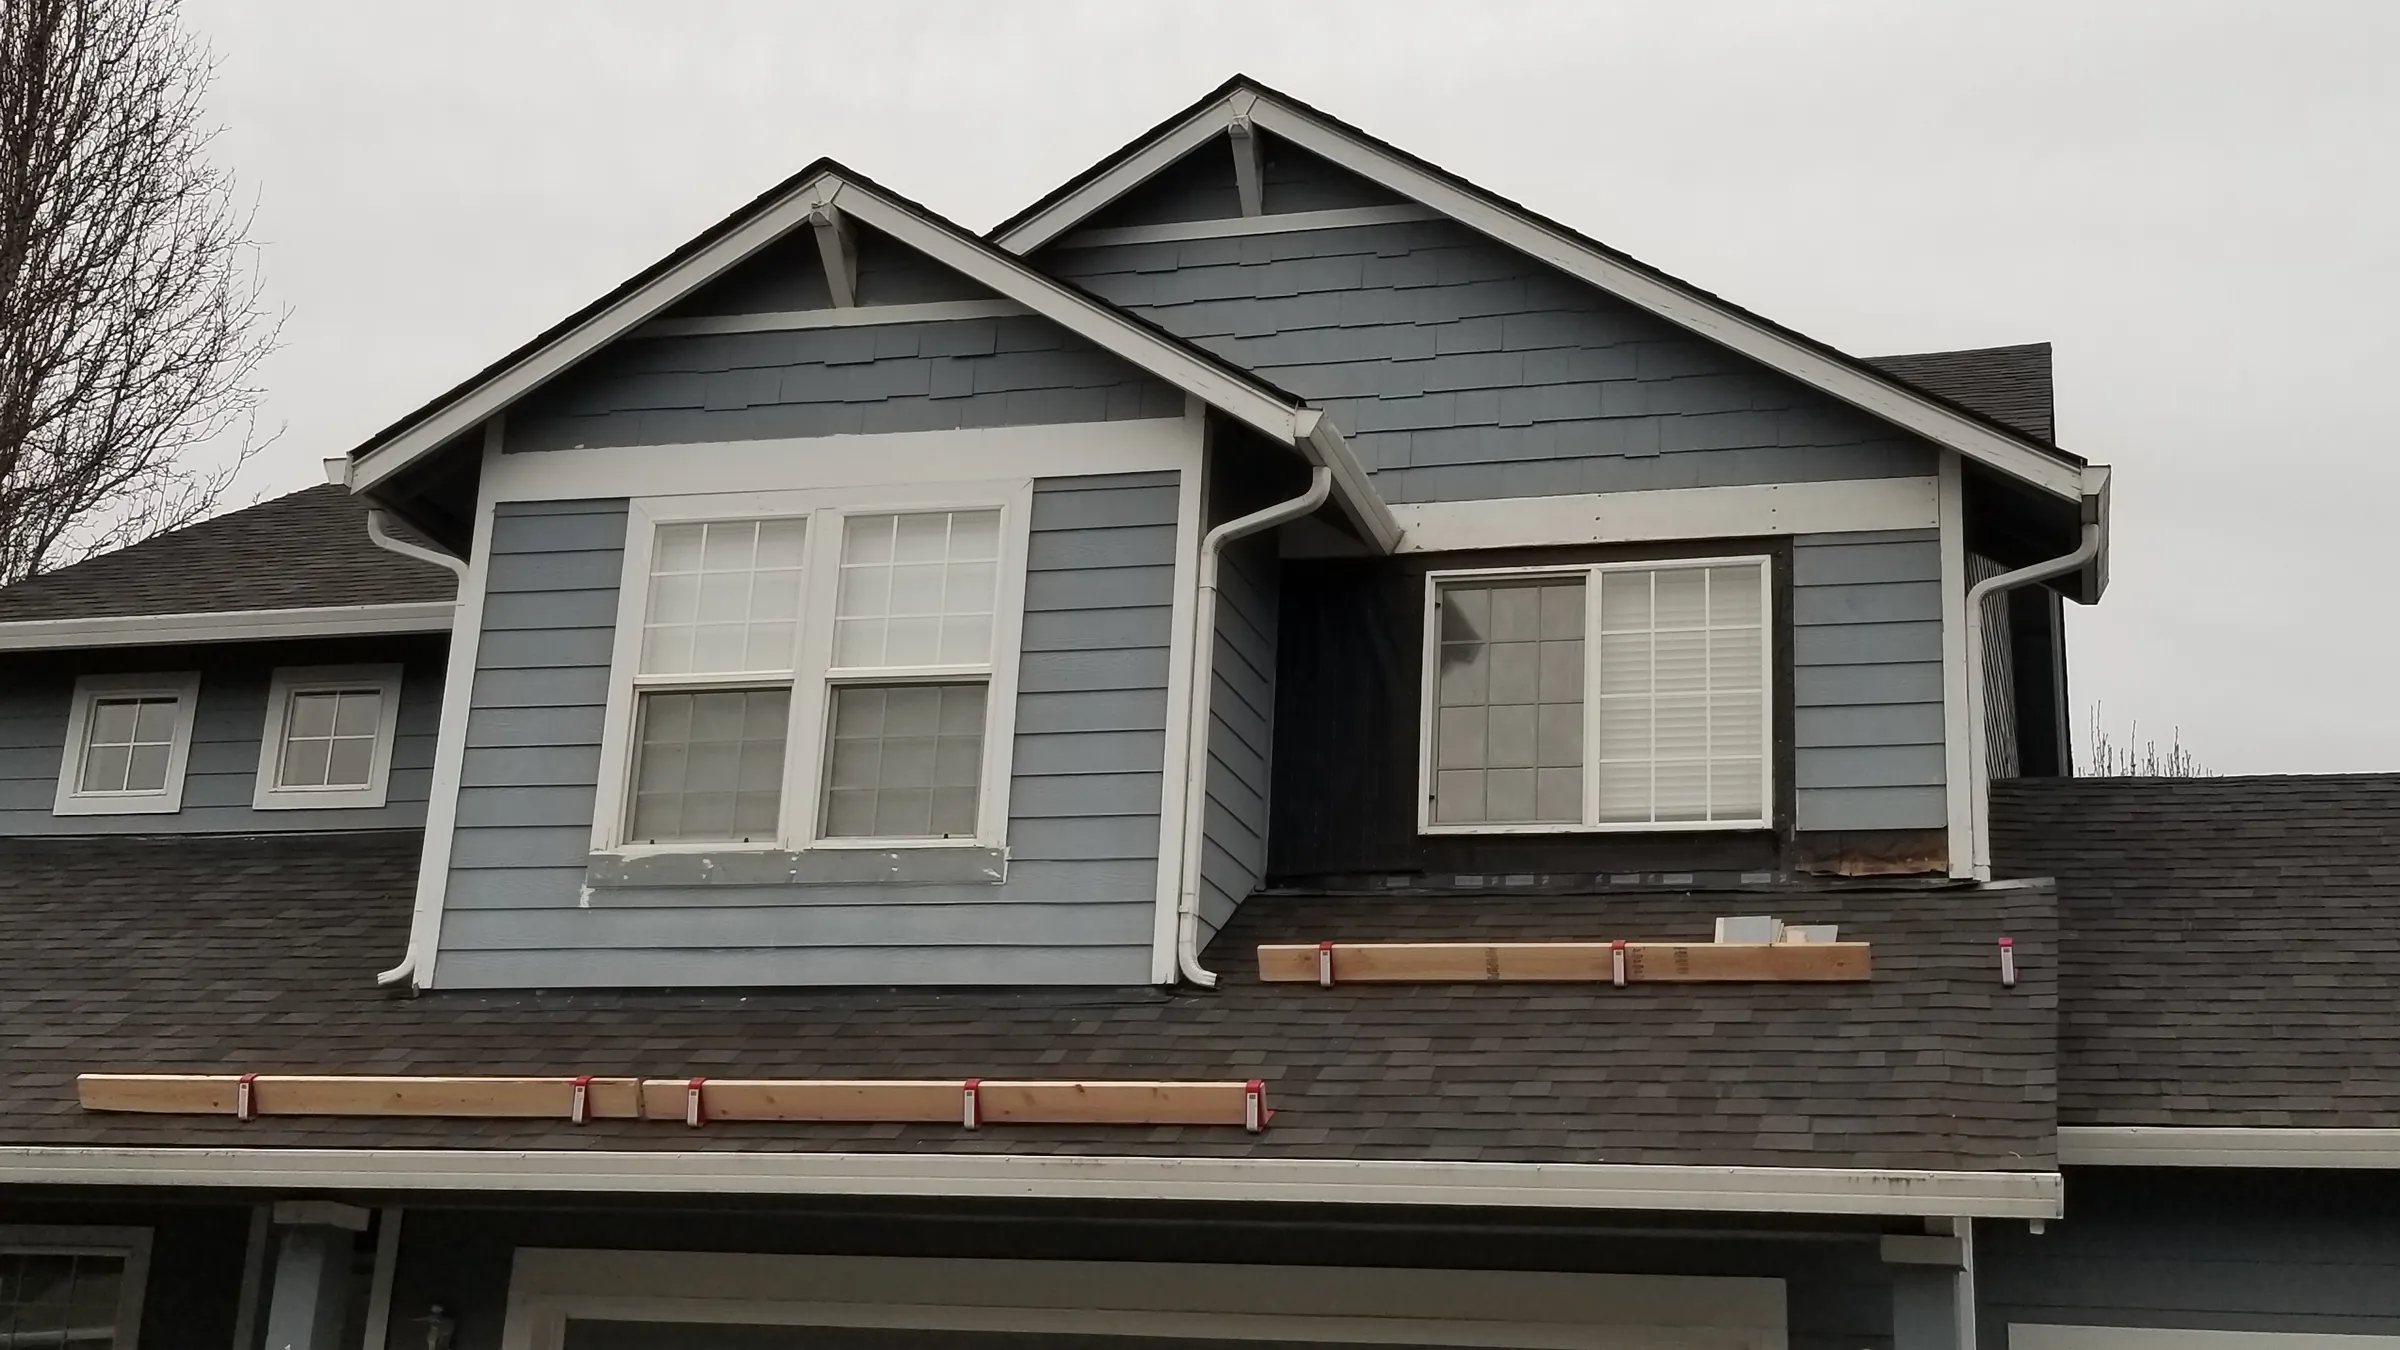
Install. Dormers nearly closed up - Day05Jan 22
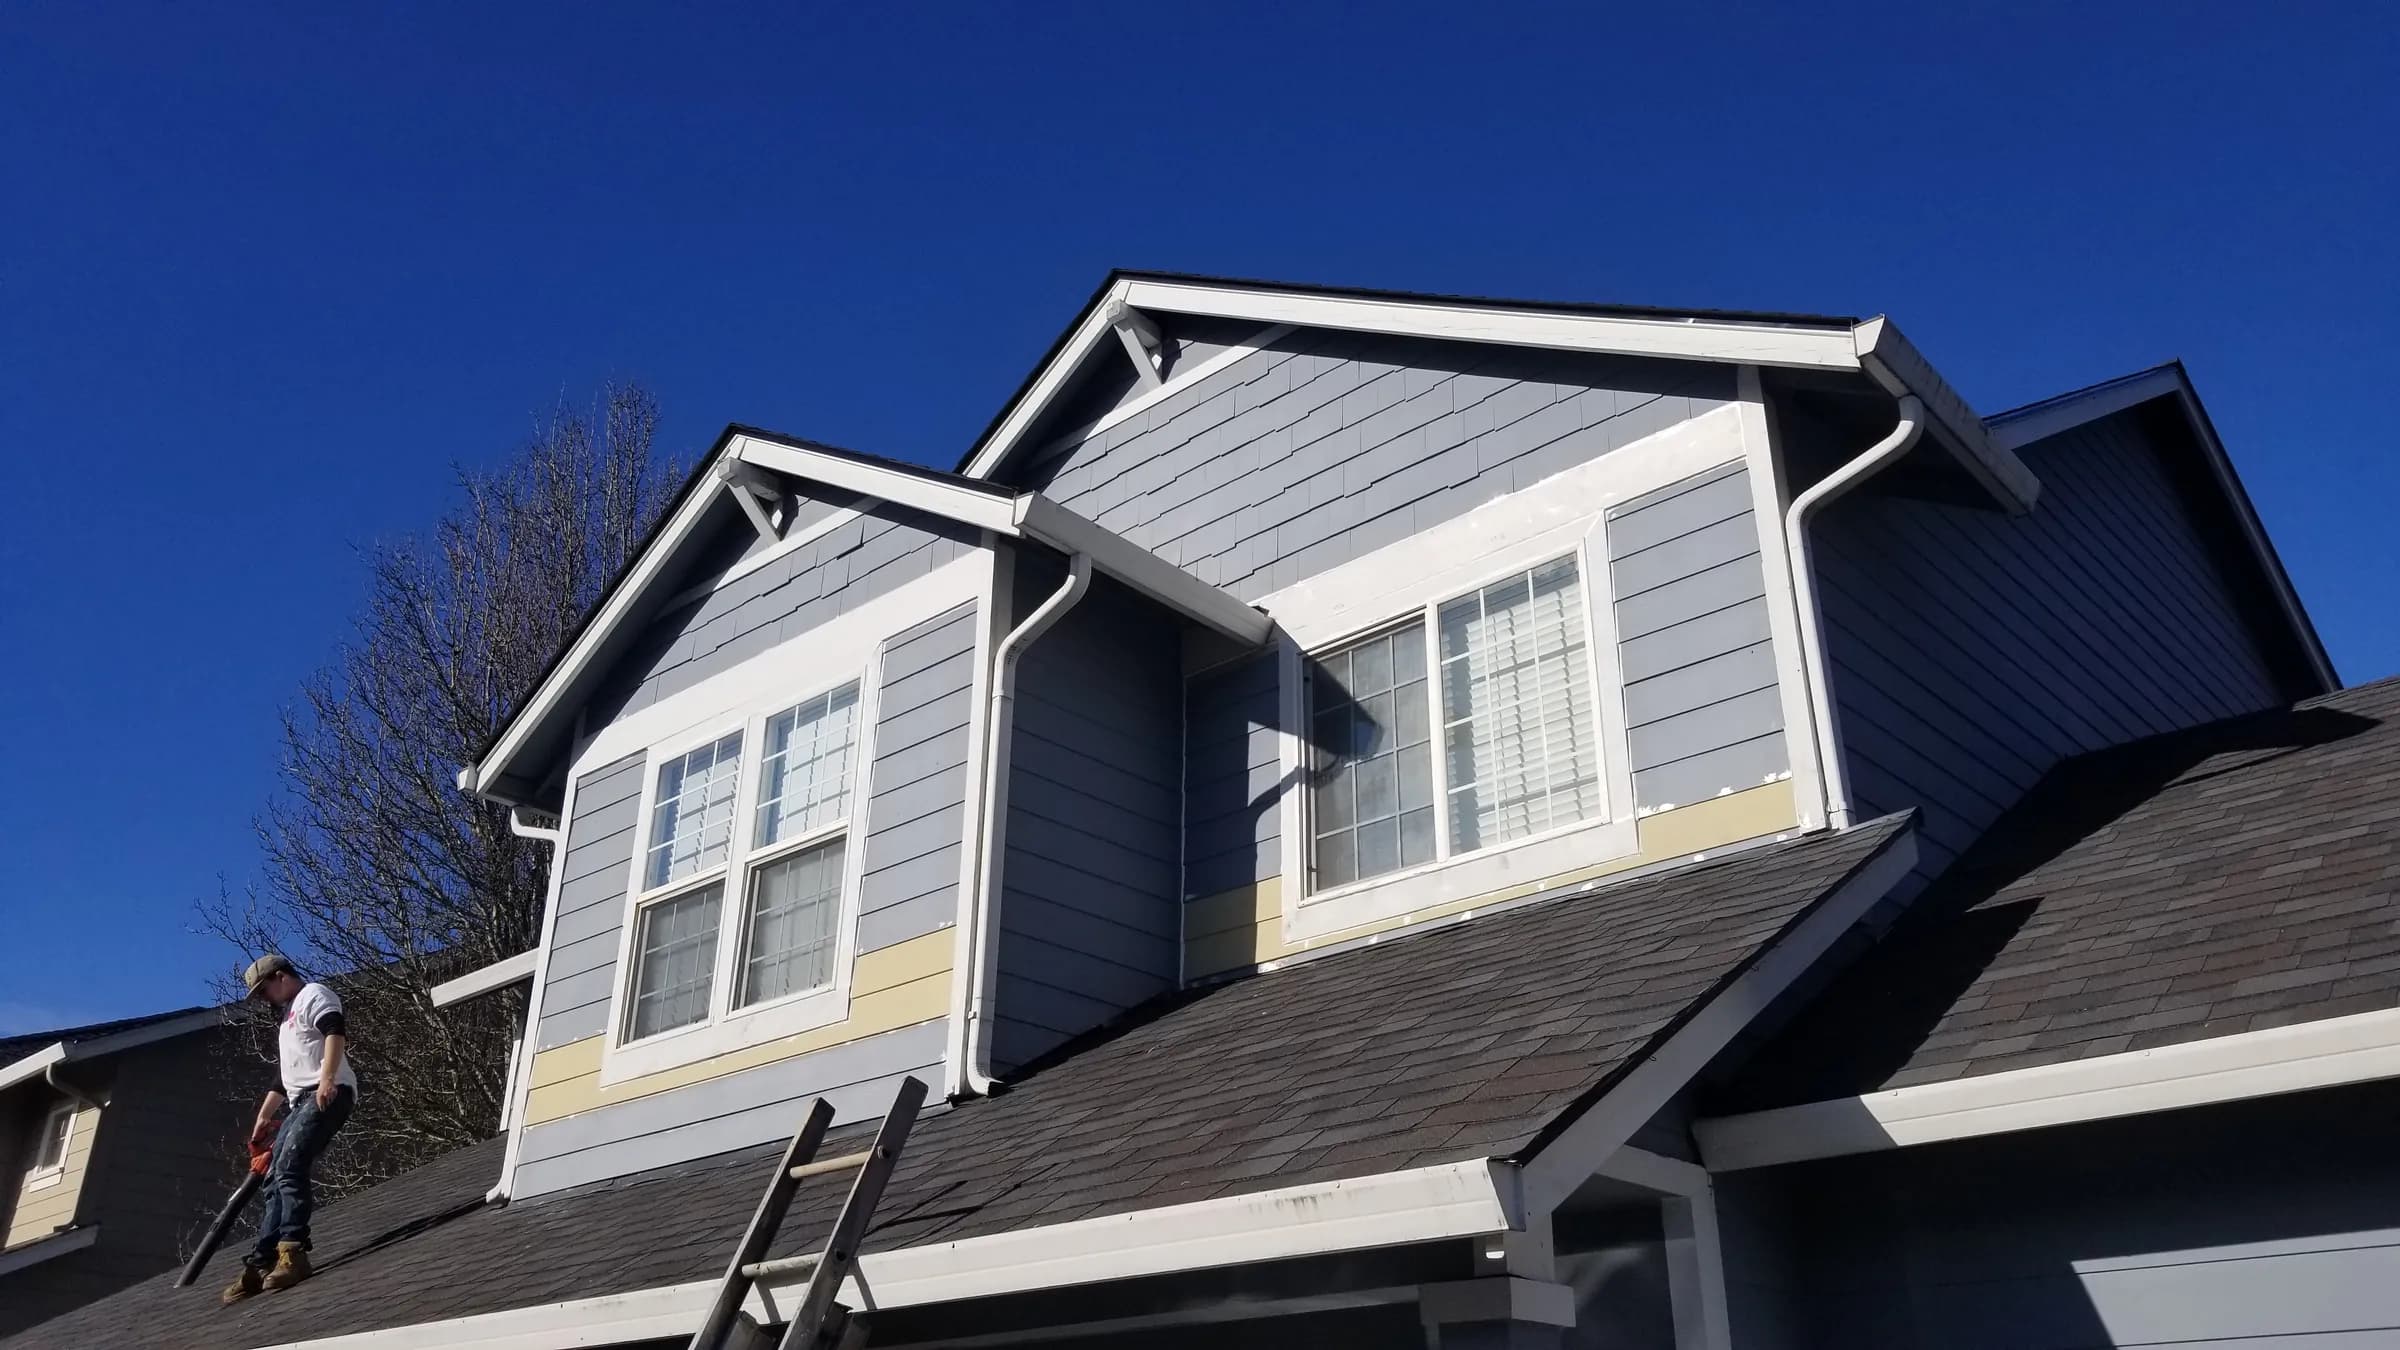
Done. The dormers closed up and sealed 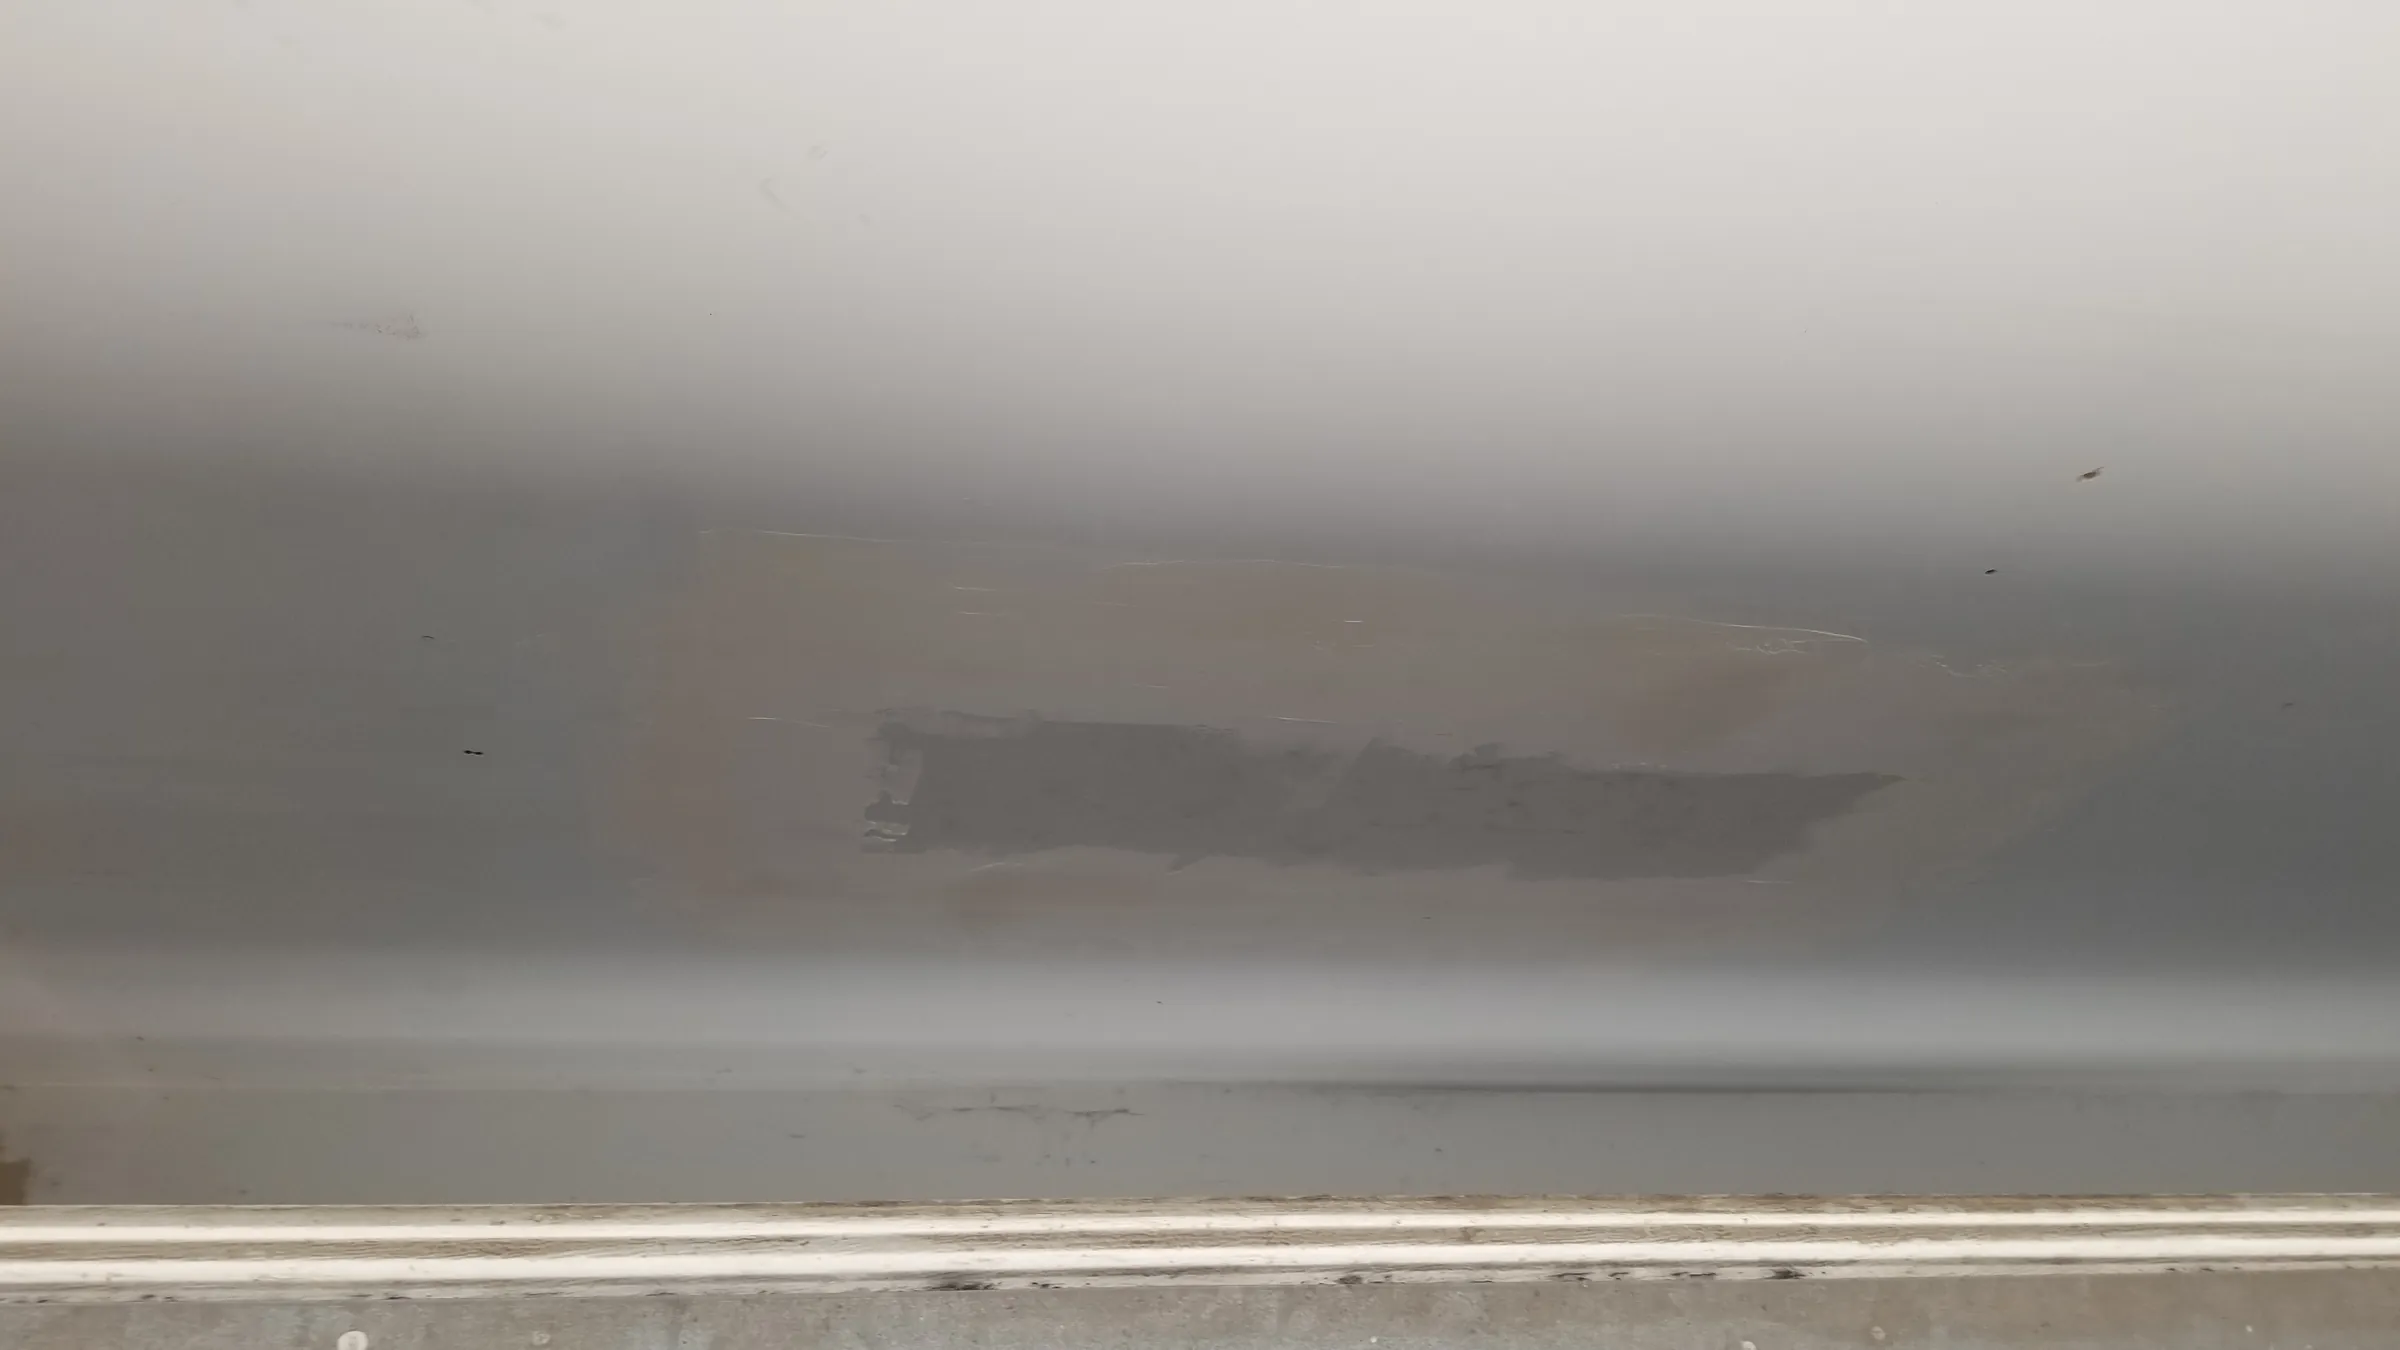
Done. Ceiling patch finished smooth
The finished job.
Planning something like this?
Free onsite consultation and a line-item estimate you can actually read — usually same day to 48 hours, depending on scope.